Alright girls, today’s post is a little different–we’re talking makeup and beauty products!
My make-up routine is something that has grown and developed over the years mainly just through experimenting and watching videos. This look is more for an evening out or a photoshoot for the blog, as there is a little more involved than my everyday look, and I typically do this exact routine anytime we’re heading out to a party, date night, meeting up with friends or have a special event to attend.
I definitely love makeup and am not afraid to put on a full face of foundation, but at the same time, this look isn’t so cray that my non-makeup girls wouldn’t be able to give it a shot. It’s also fun to play around and get a little more dolled up, and the best way to learn is to just give it a shot!
I will say this post is a tad photo heavy, but I really wanted to capture all the steps to make it as easy as possible to follow.
Let’s jump in!
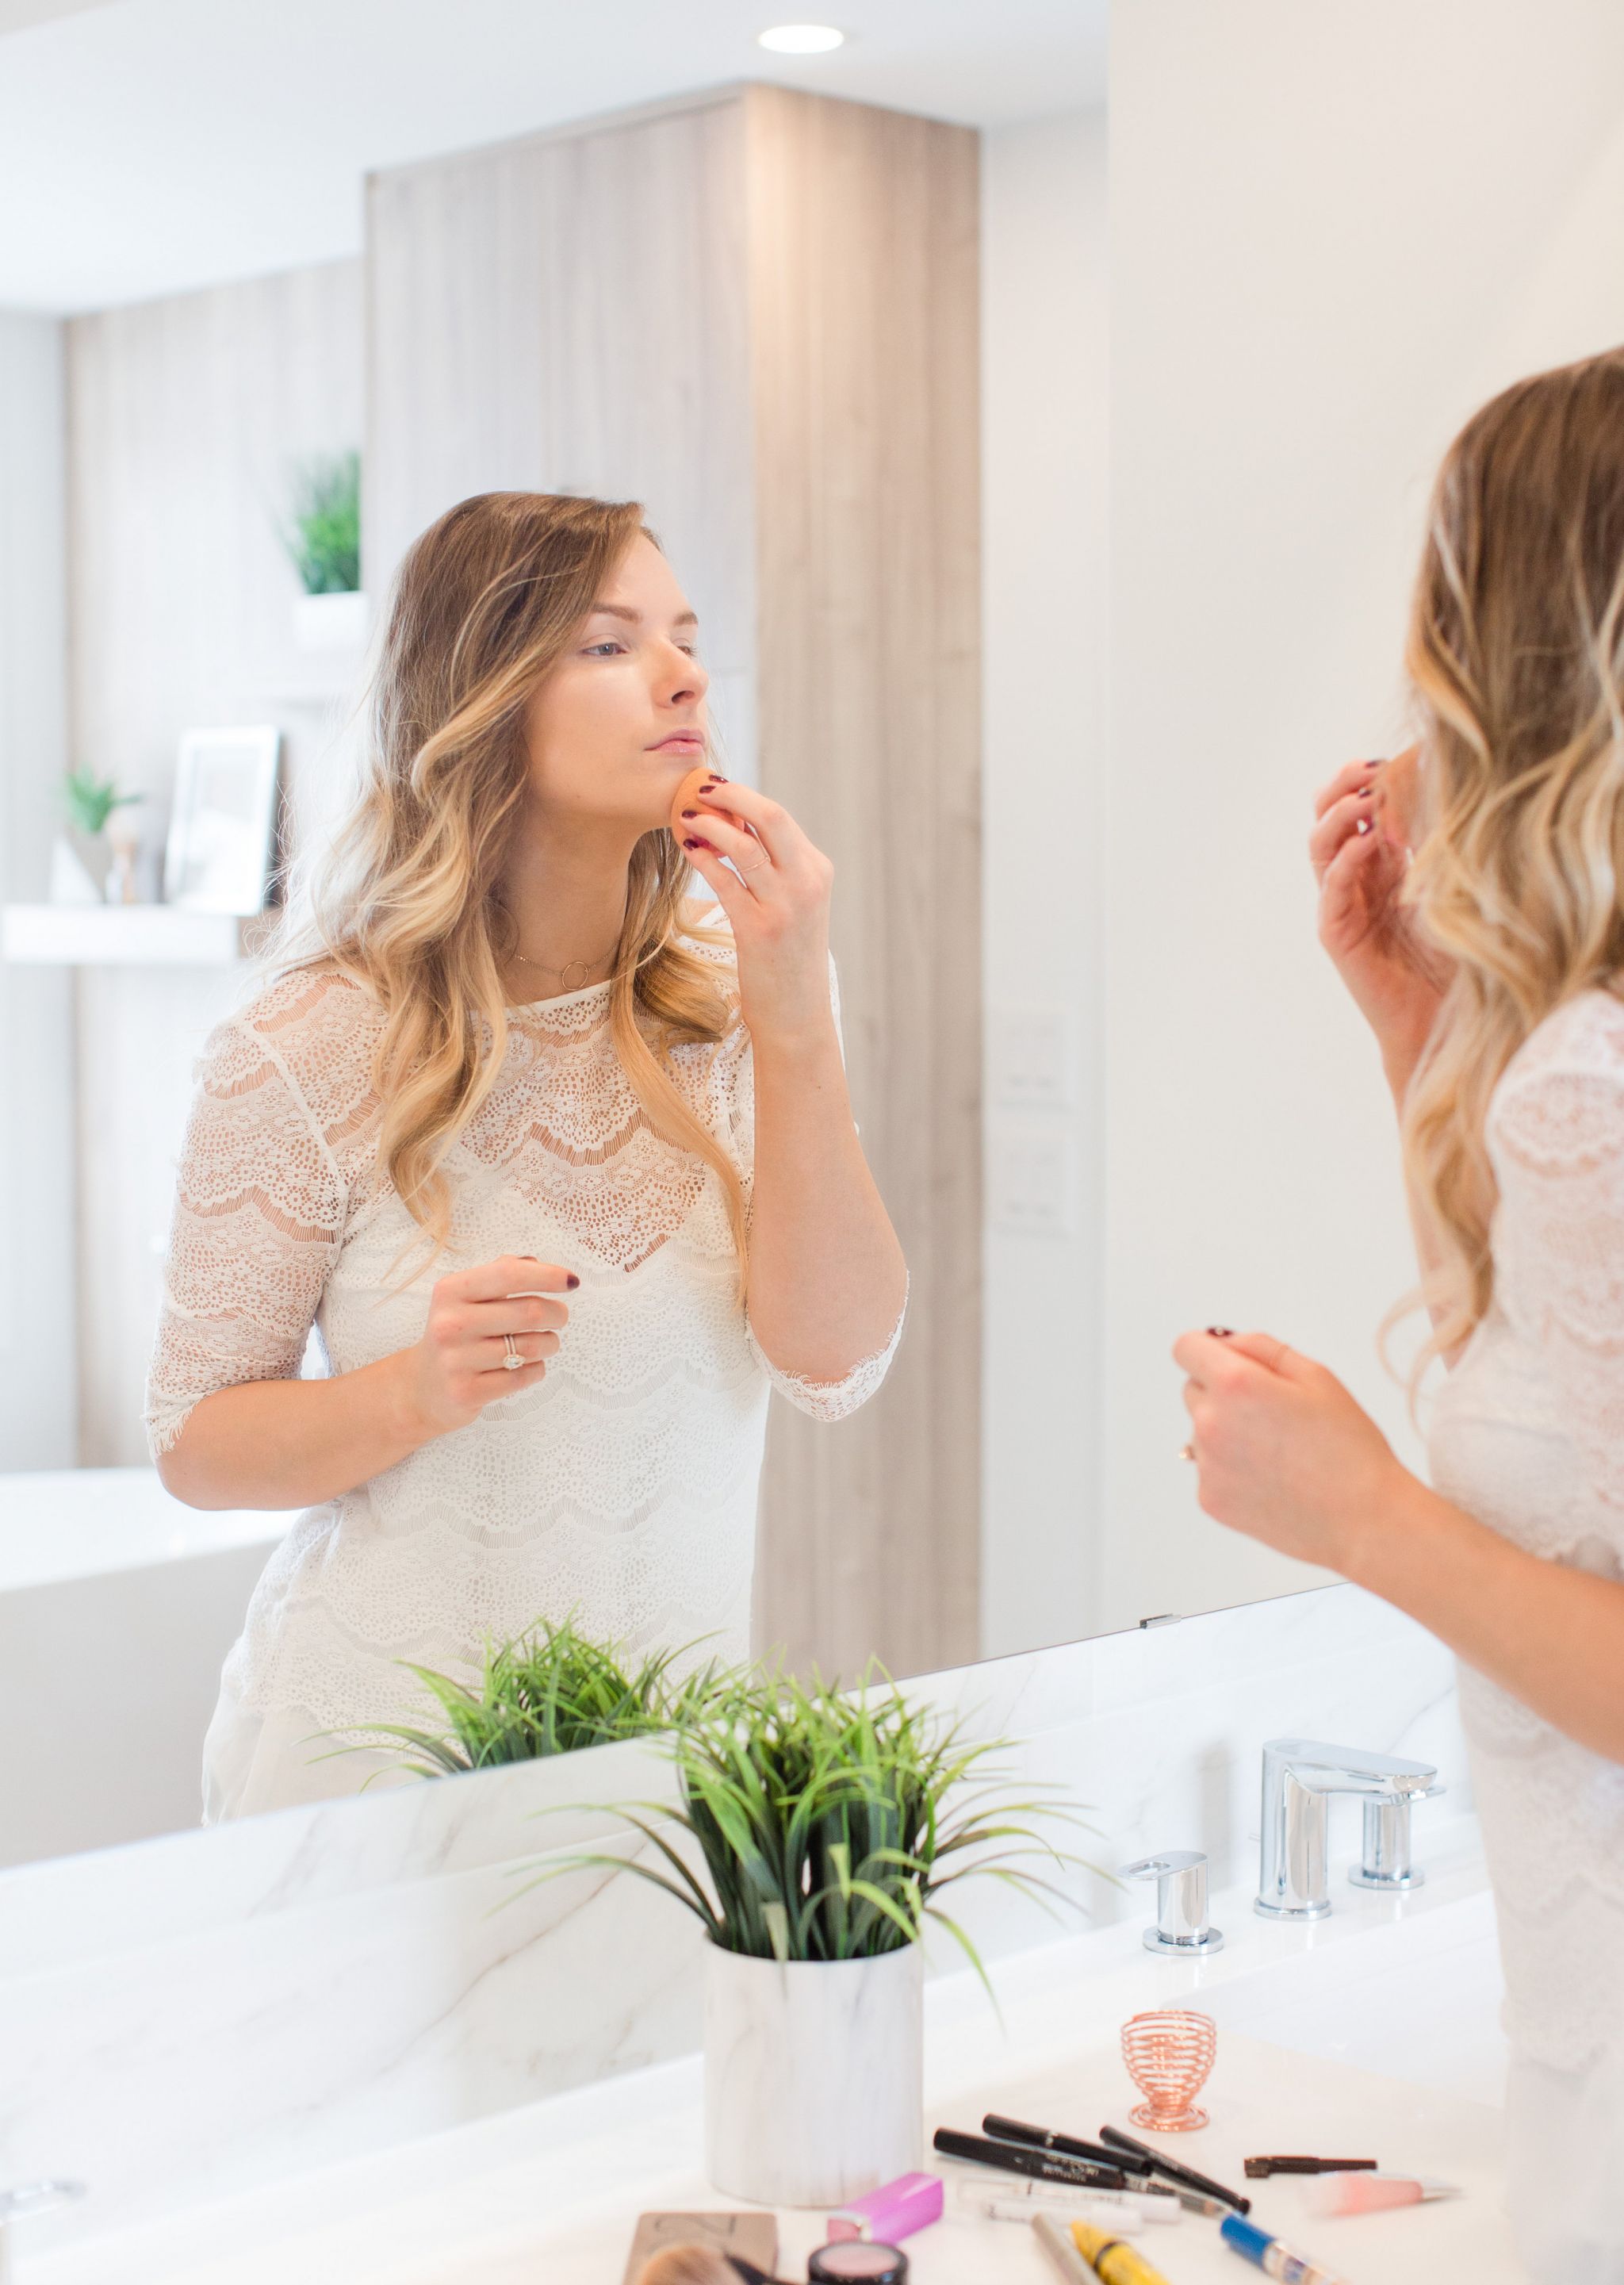
I’m crazy about my Beauty Blender for applying my foundation and concealer. I’ve been using one for four years and if you take care of them (wash weekly with bar soap–very simple), they can last you upwards of a year.
It should also be noted that I’ve tried the dupes before, and was disappointed and went back to the official BB.
If it’s out of the budget, consider your cost per use, and if you do use it for a year, it’s about $2/month.


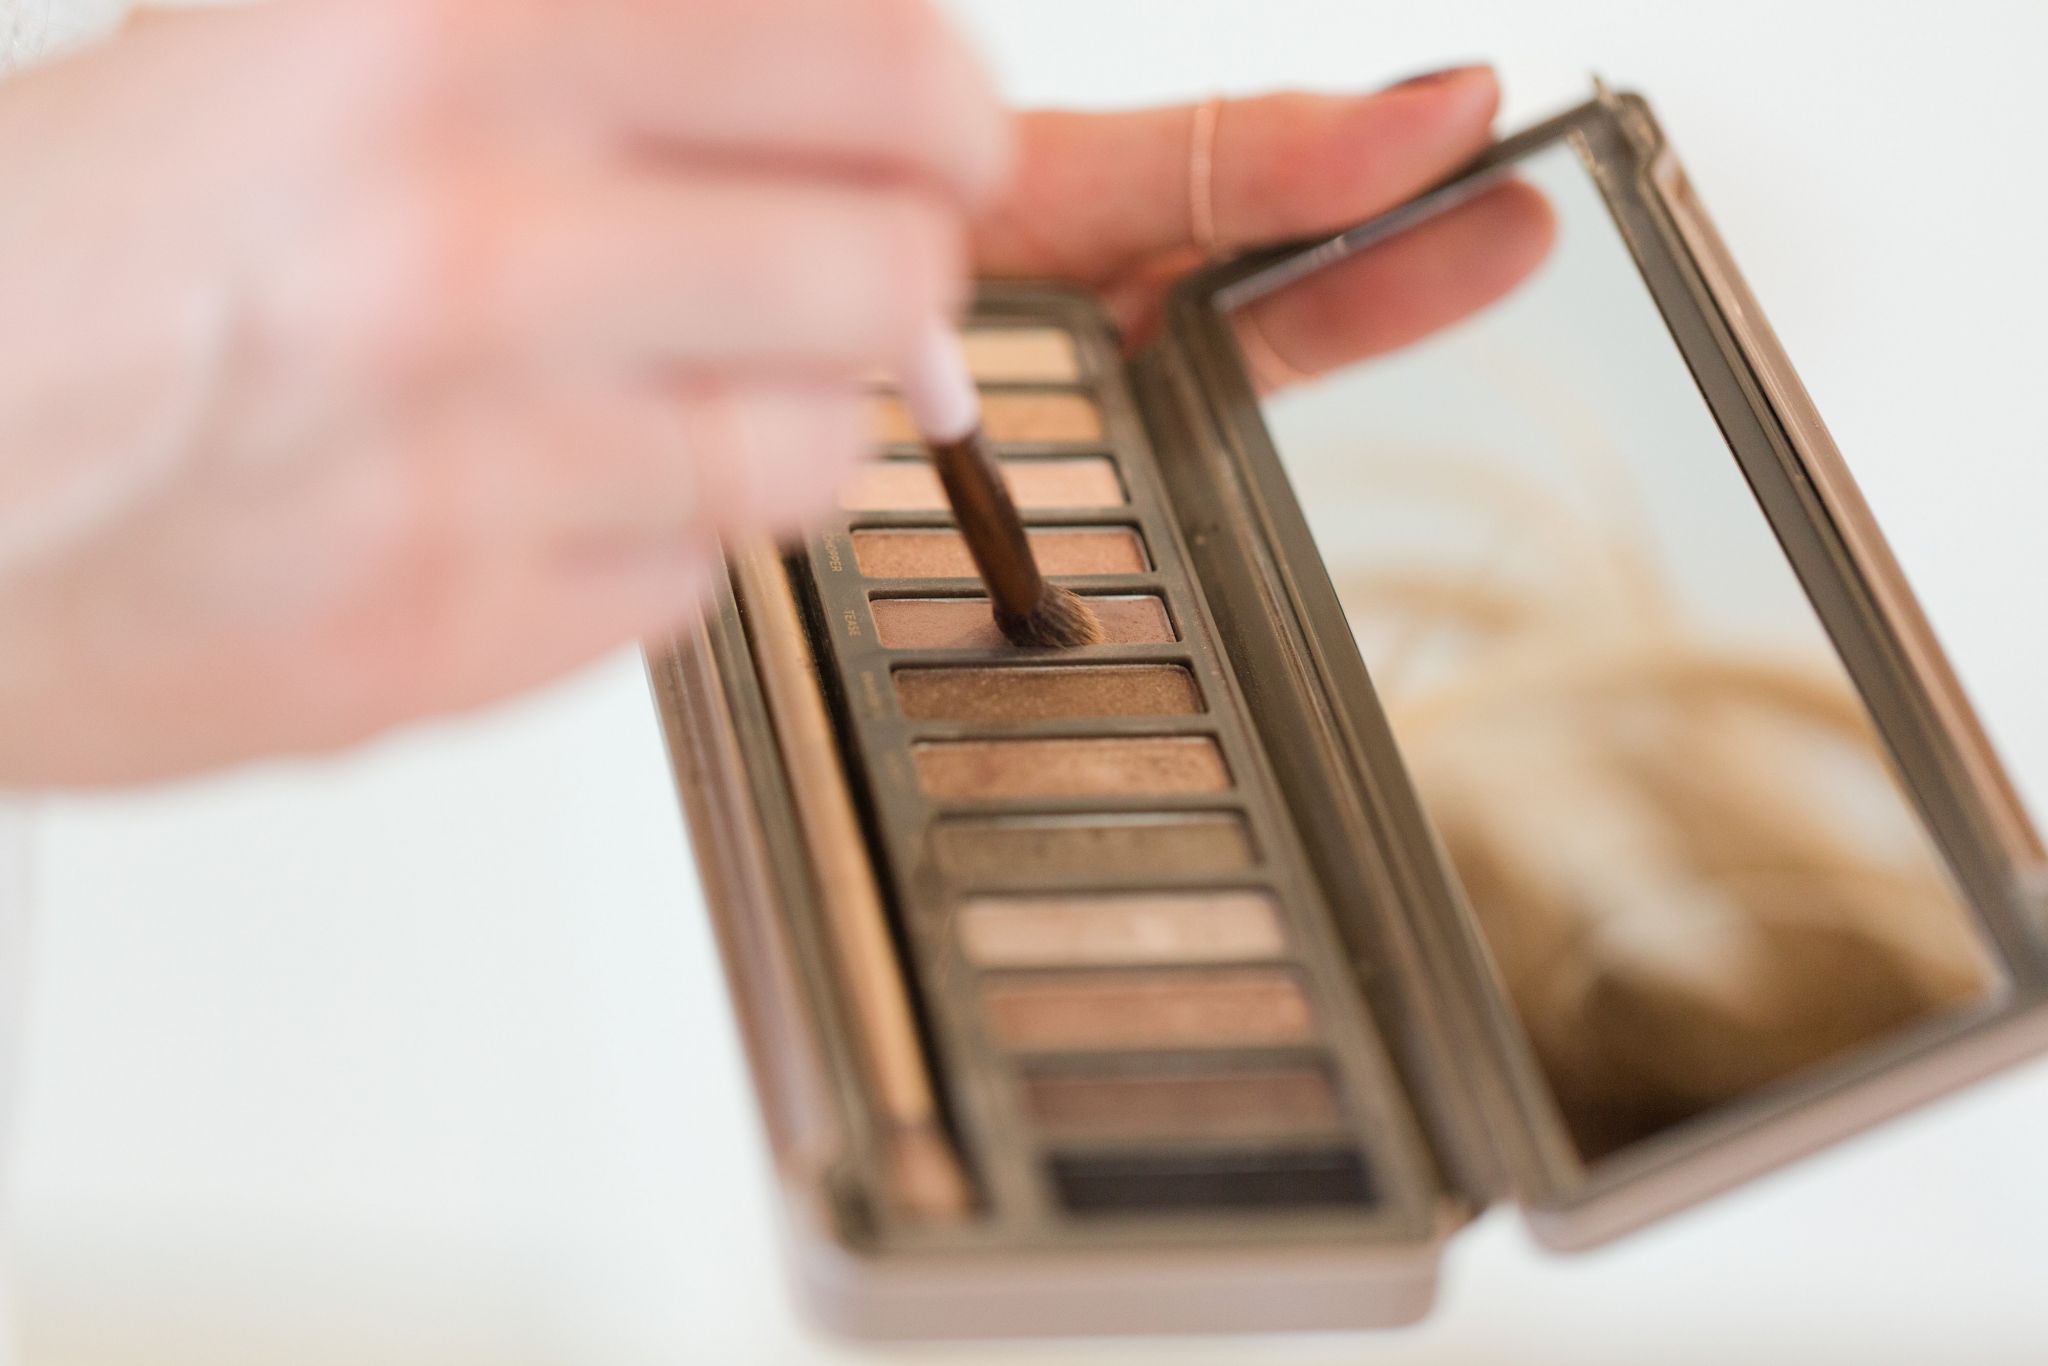
I also prime my lids with my concealer, then use a loose powder or light eyeshadow to set it.
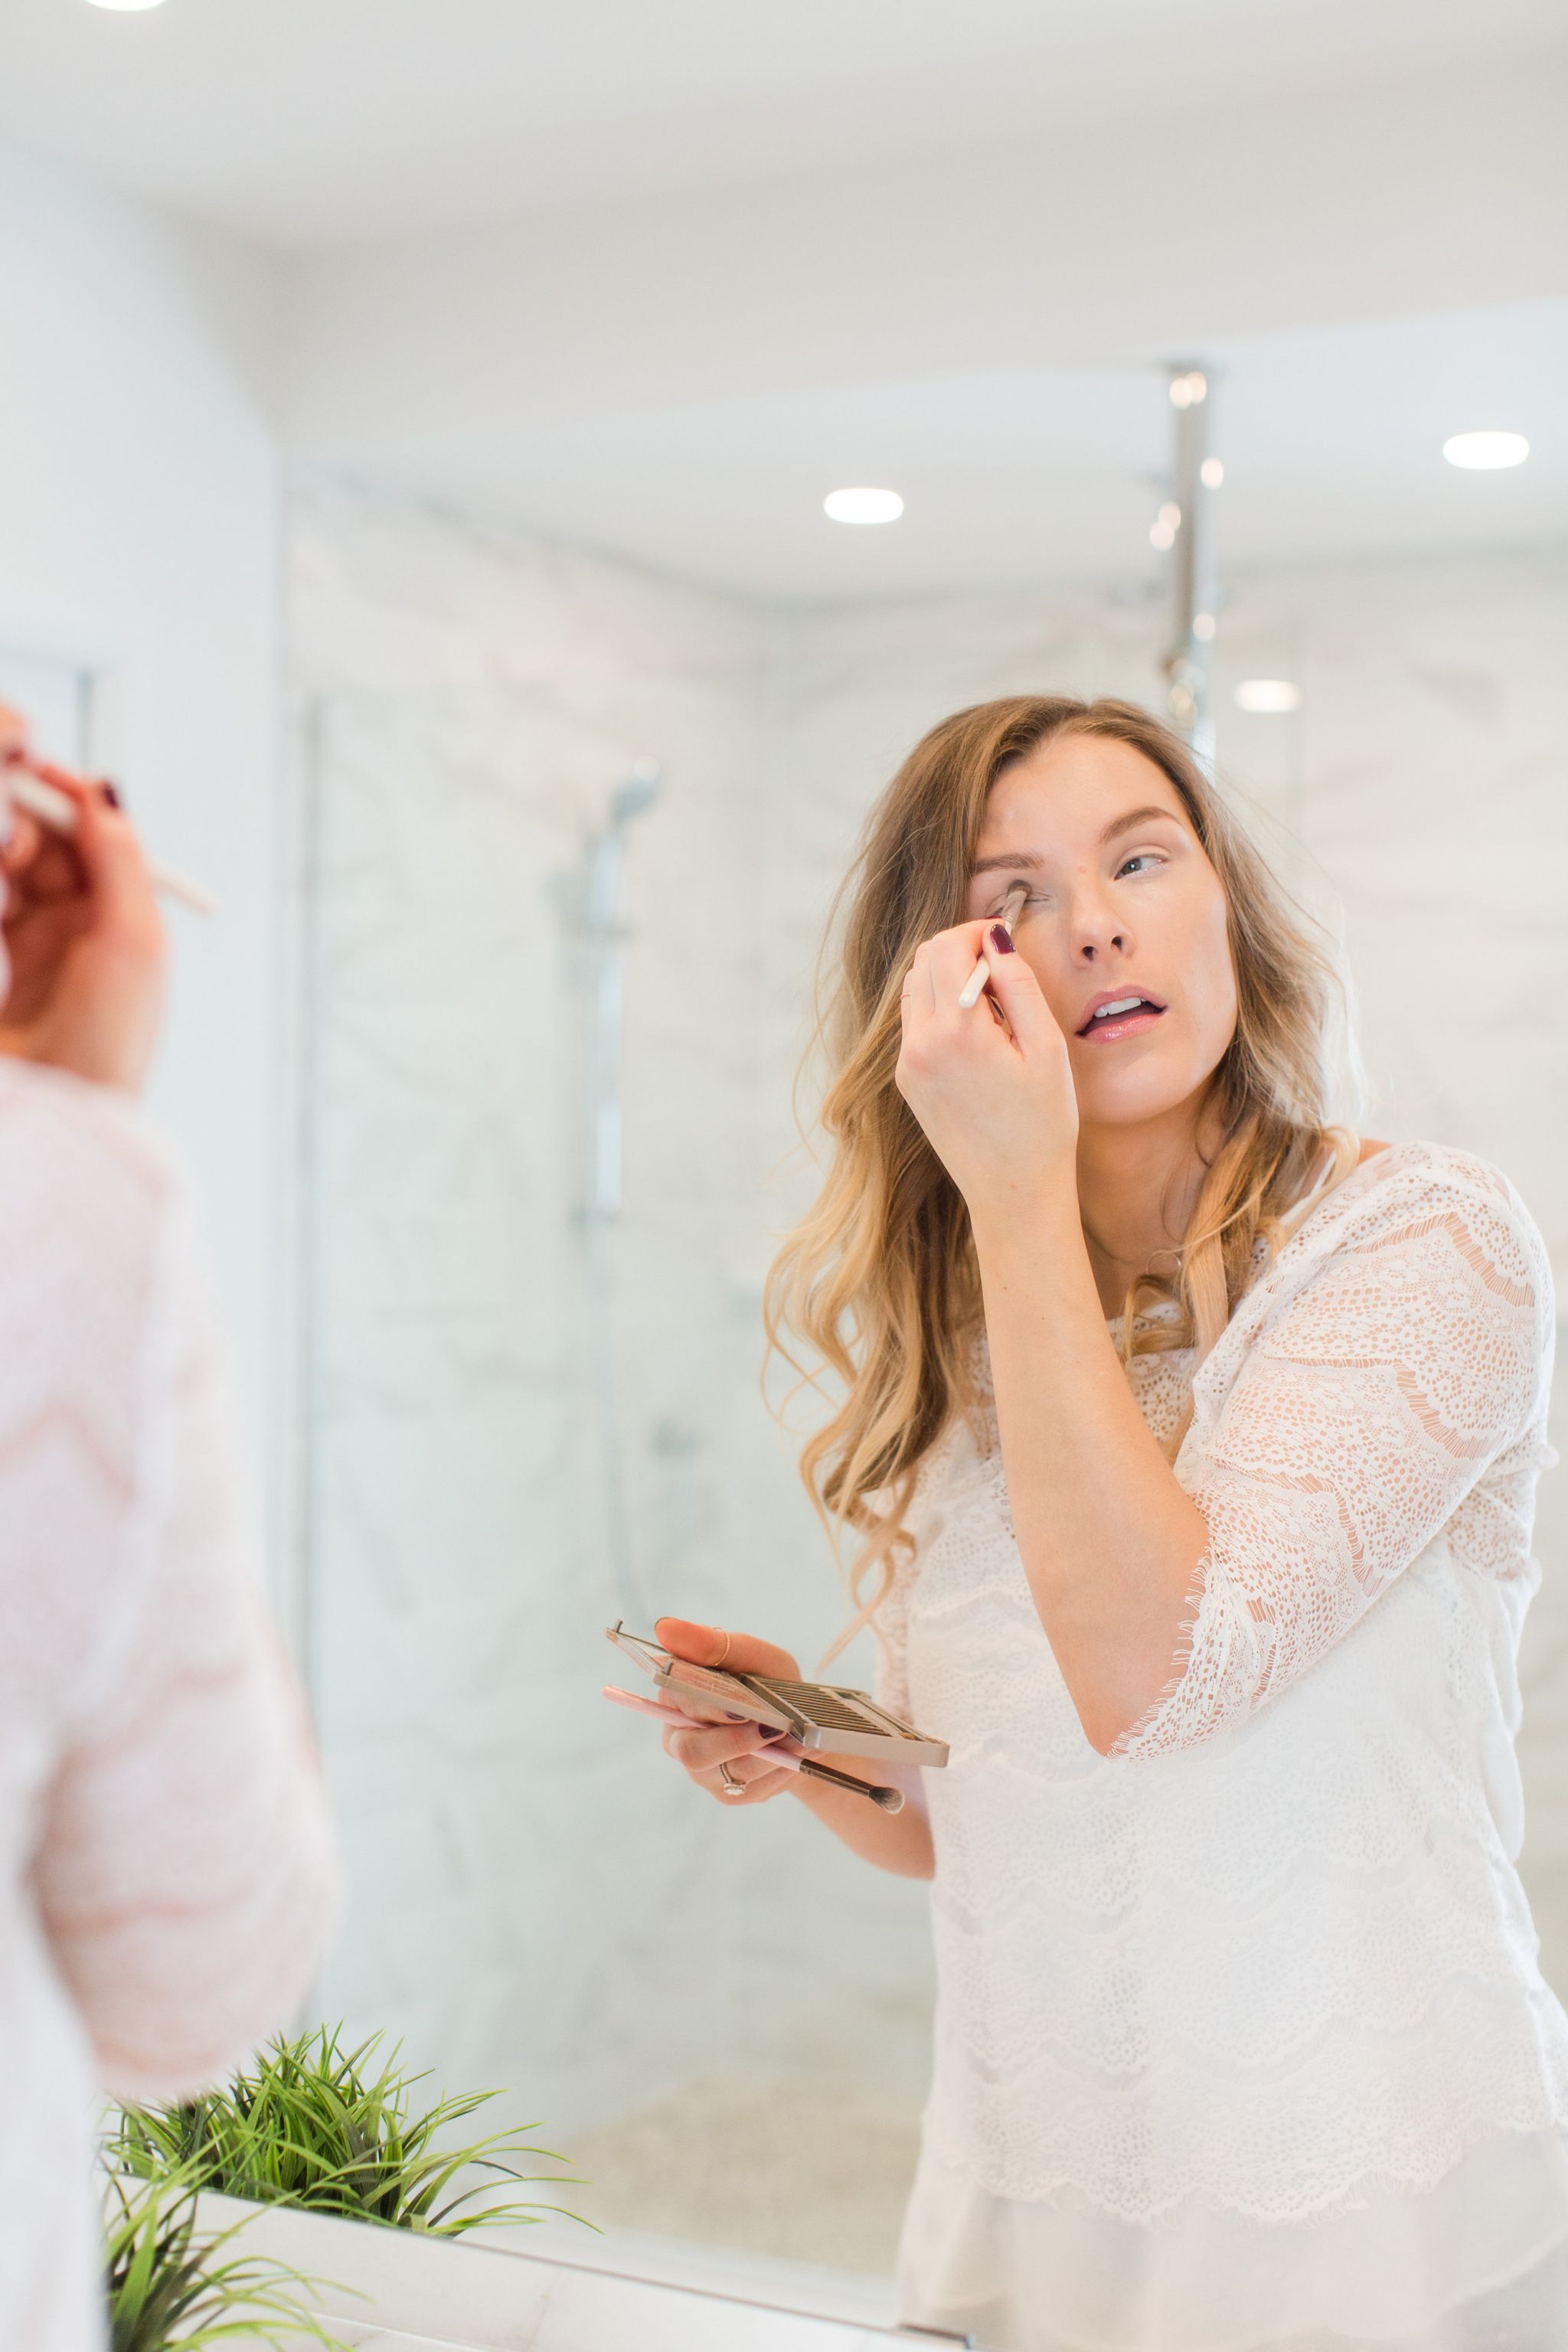
I love to use a light eyeshadow at the inner corners of my eyes and then smoke out the crease with something in a warm, brown tone. Blending is key to seamlessly transition the colours into one another; just move your brush back & forth in a windshield wiper motion quickly over and over again until there are no harsh lines.

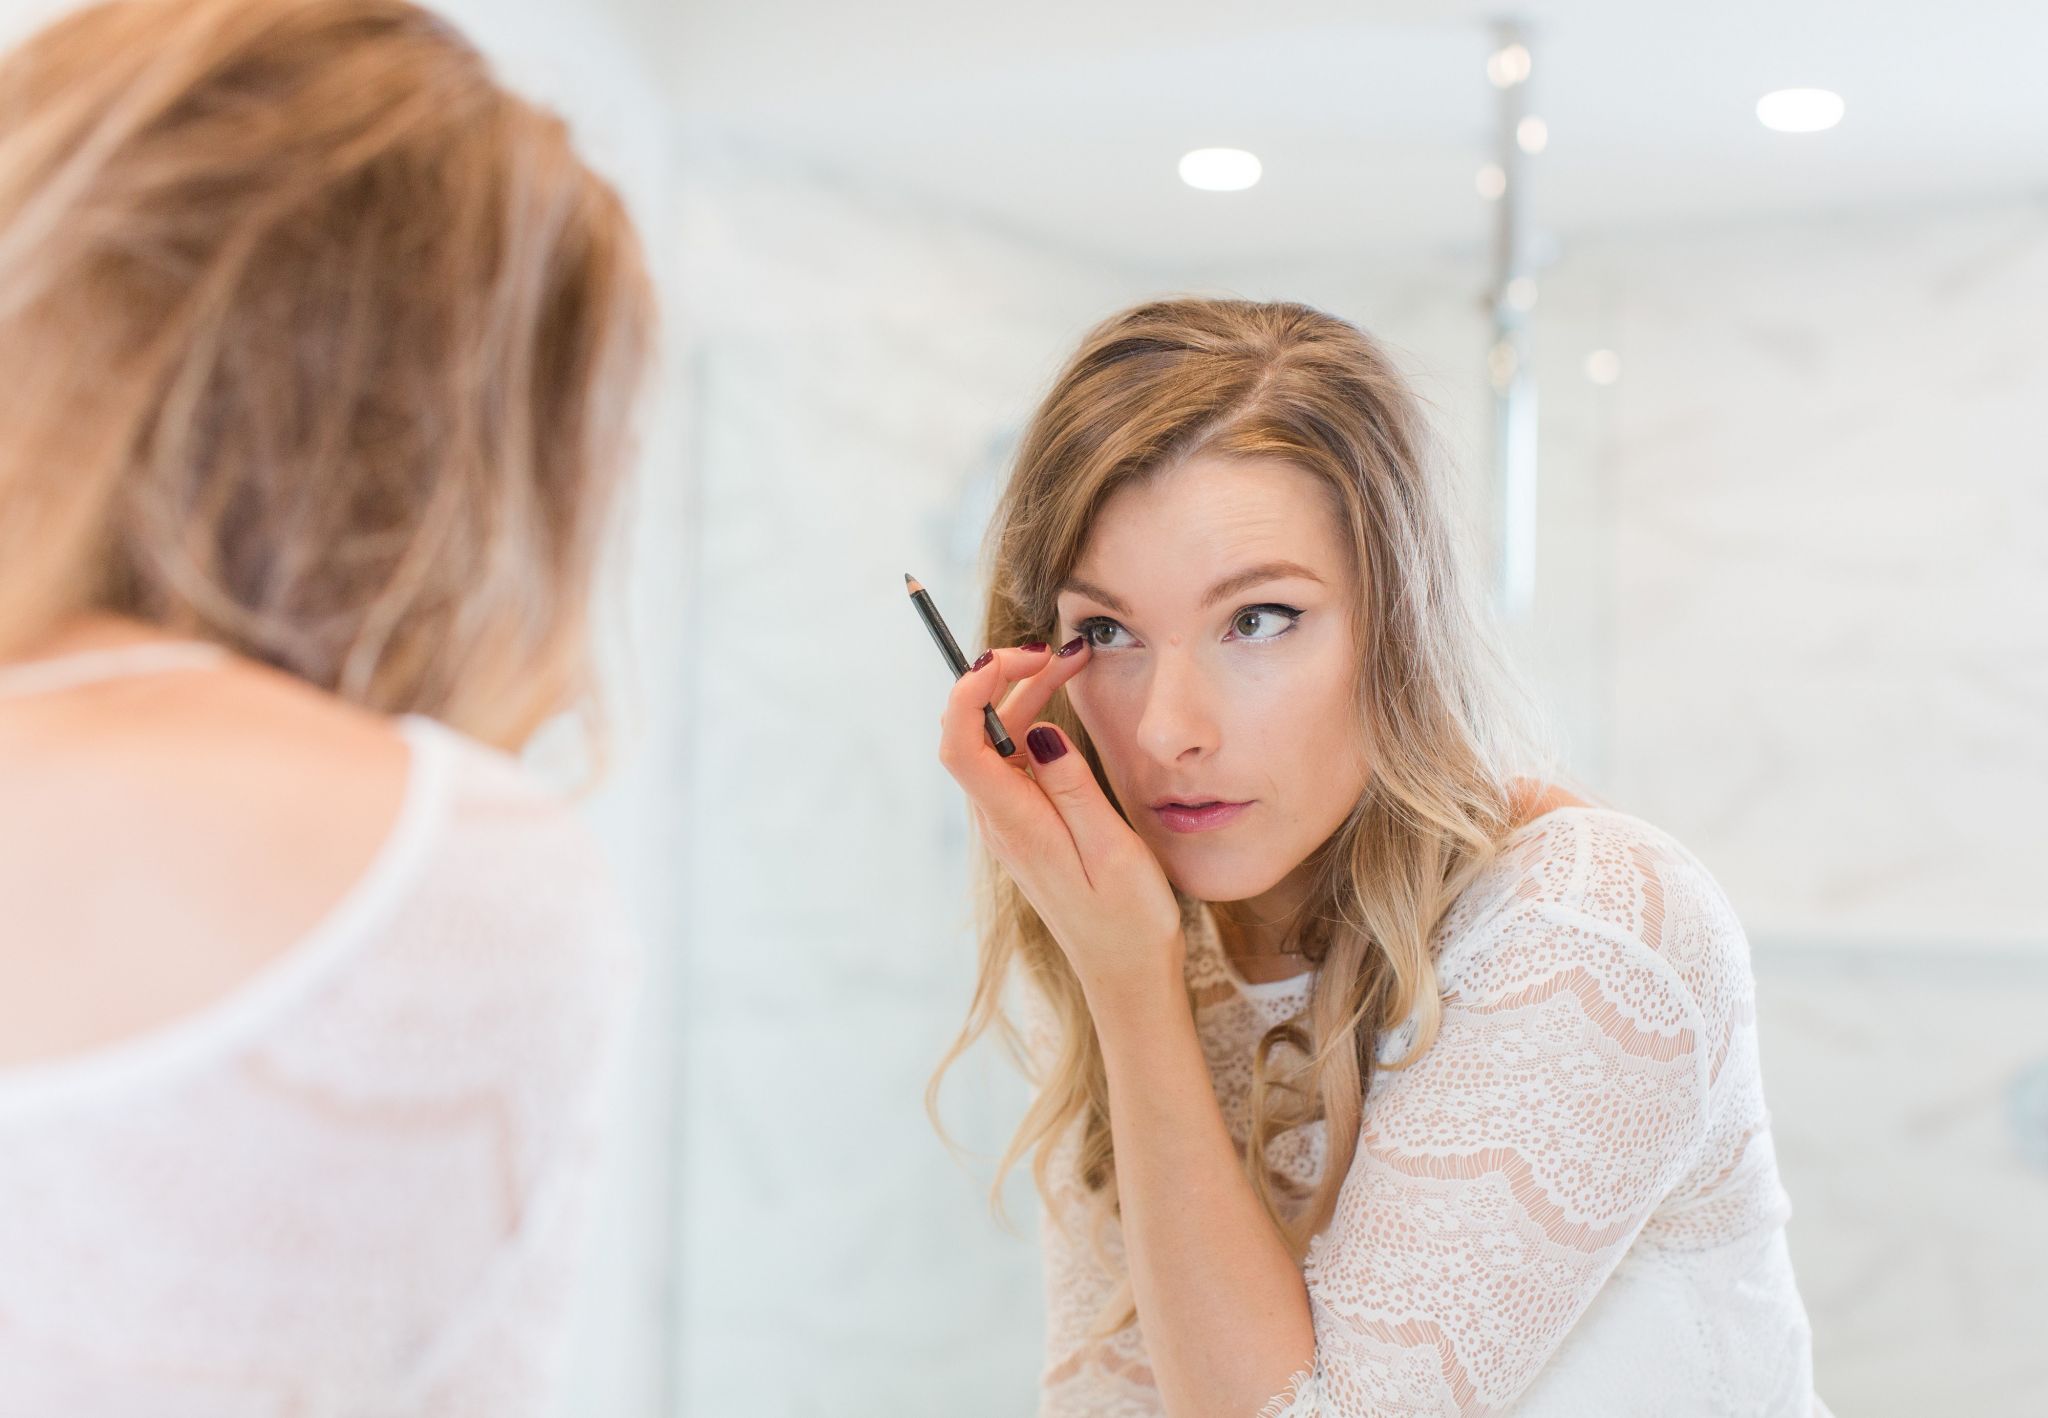
Next I use this soft, jumbo pencil for my waterline (which is often red, from lack of sleep 😉 ) on the inner two thirds.
Then I go in with a black liner on the outer corner and smudge it out to blend.

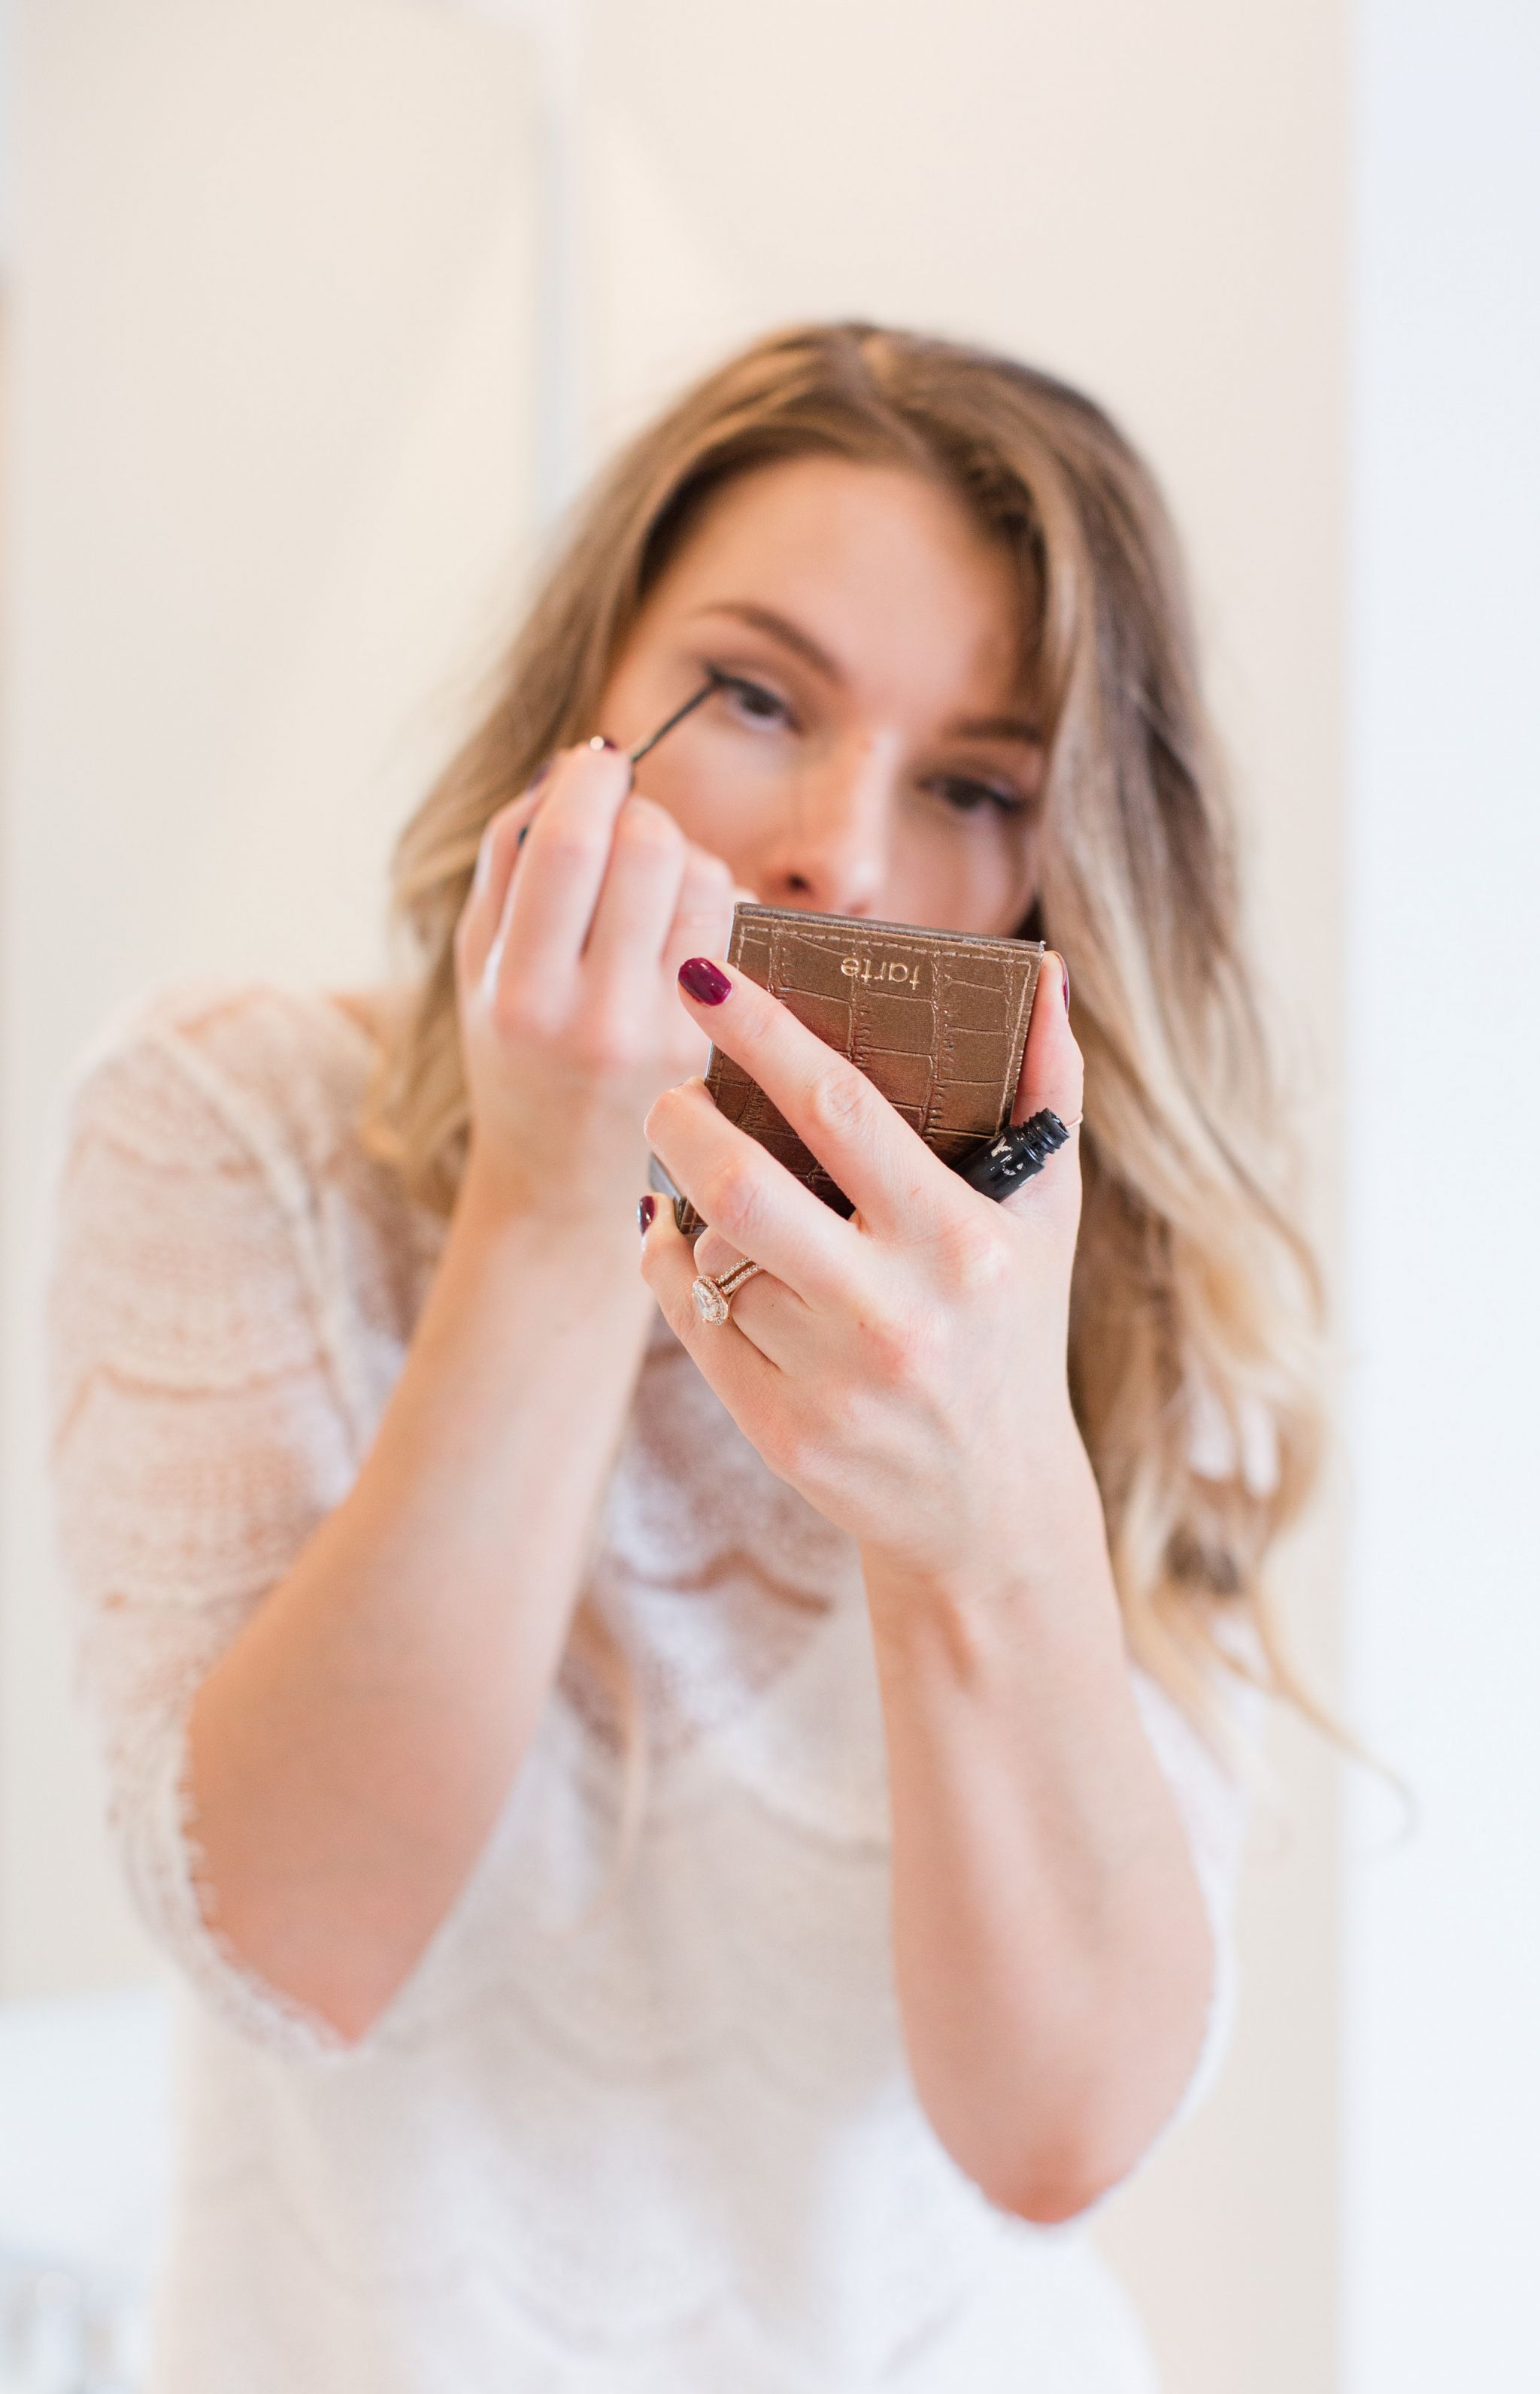
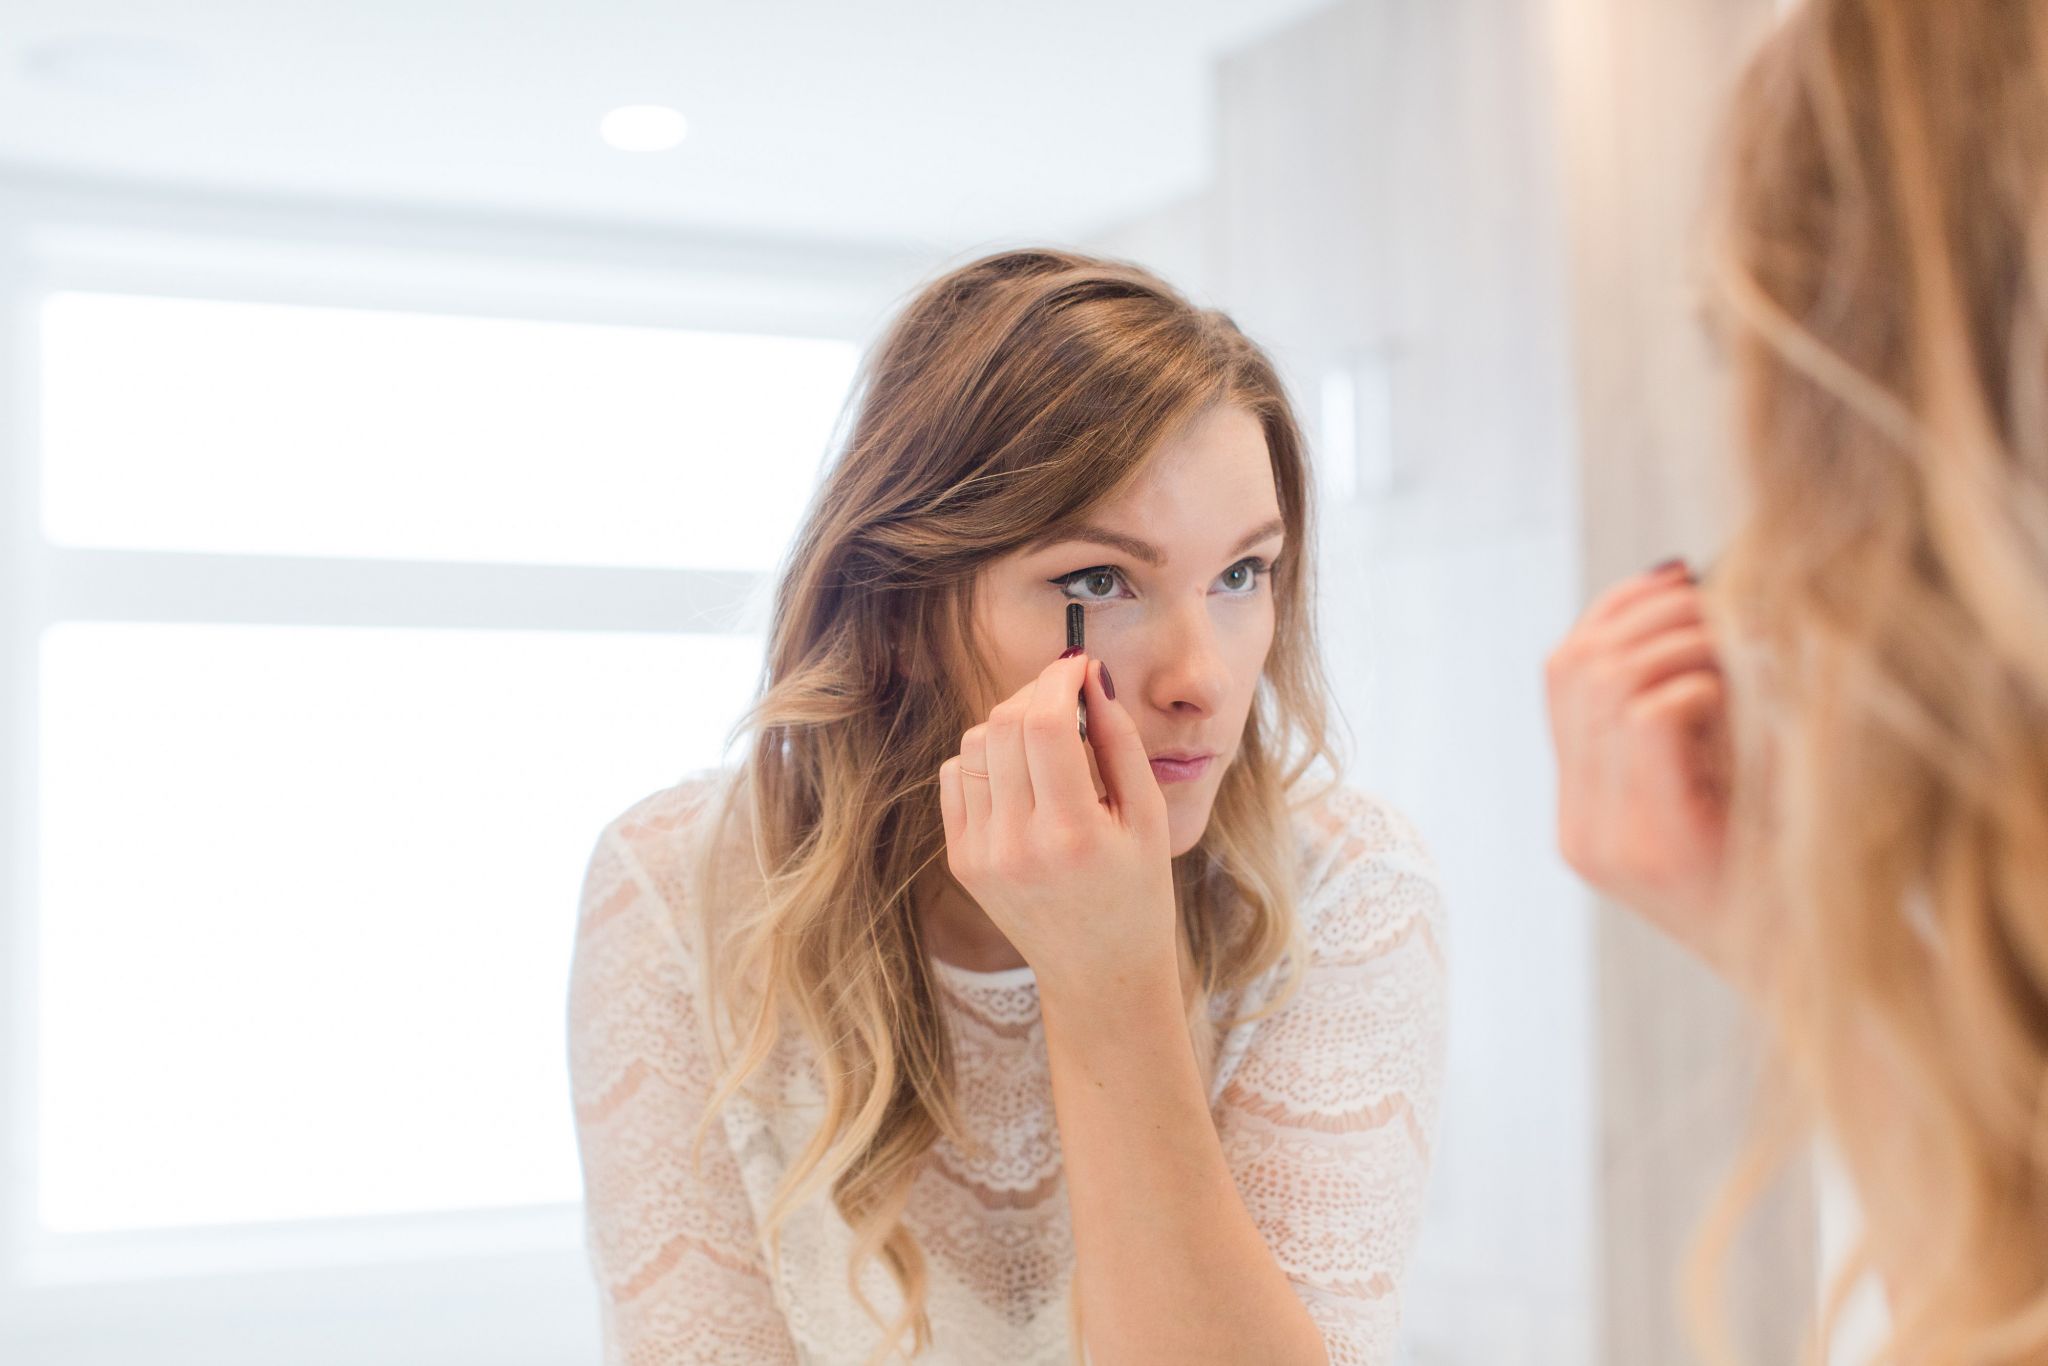
Next up is the liquid liner to create a cat eye.
Achieving this look definitely takes some practice, and I remember asking a makeup artist friend about 10 years ago how I could perfect my cat eye. Her answer? Practice.
I find anchoring your pinky or elbow to the mirror can help keep a steady hand. It definitely takes some getting used to, so don’t discount your skills if you’re just starting off. This look just takes time and patience. Try it out on evenings you’re not going anywhere so there is no pressure.
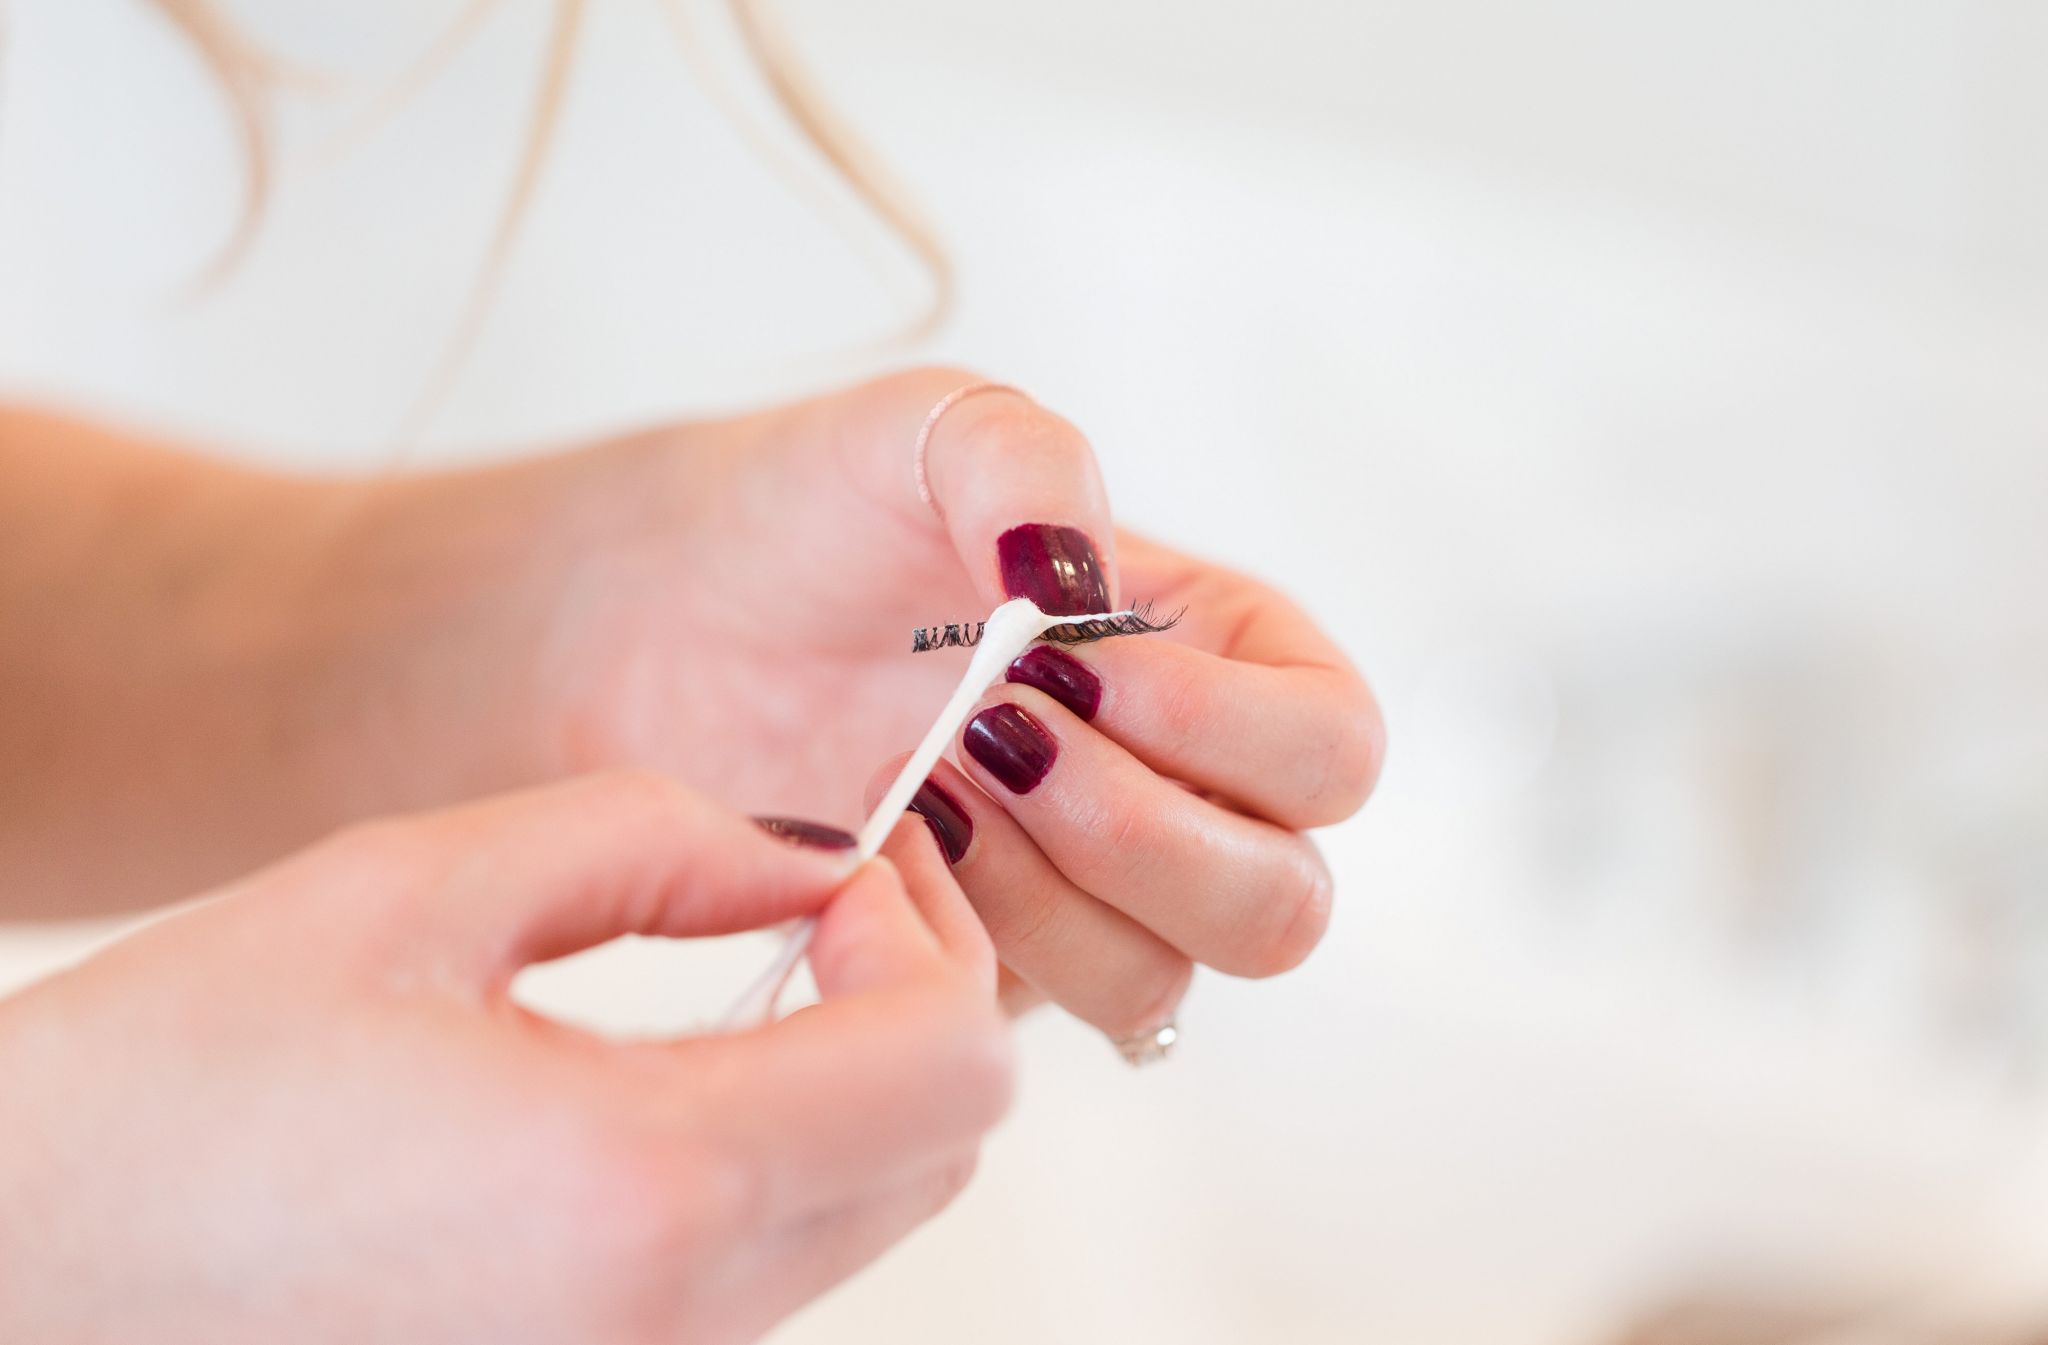

False lashes can be difficult to apply, so don’t be discouraged if it takes a few tries to get it.
When you apply the glue to the lash, let it stand for a good 30 seconds so it gets tacky, this will help it adhere. I like this glue in black.
Pro tip: always prep your lashes with a swipe or two of mascara first & always aim to attach them to the base of your lash line, versus your eyelid.


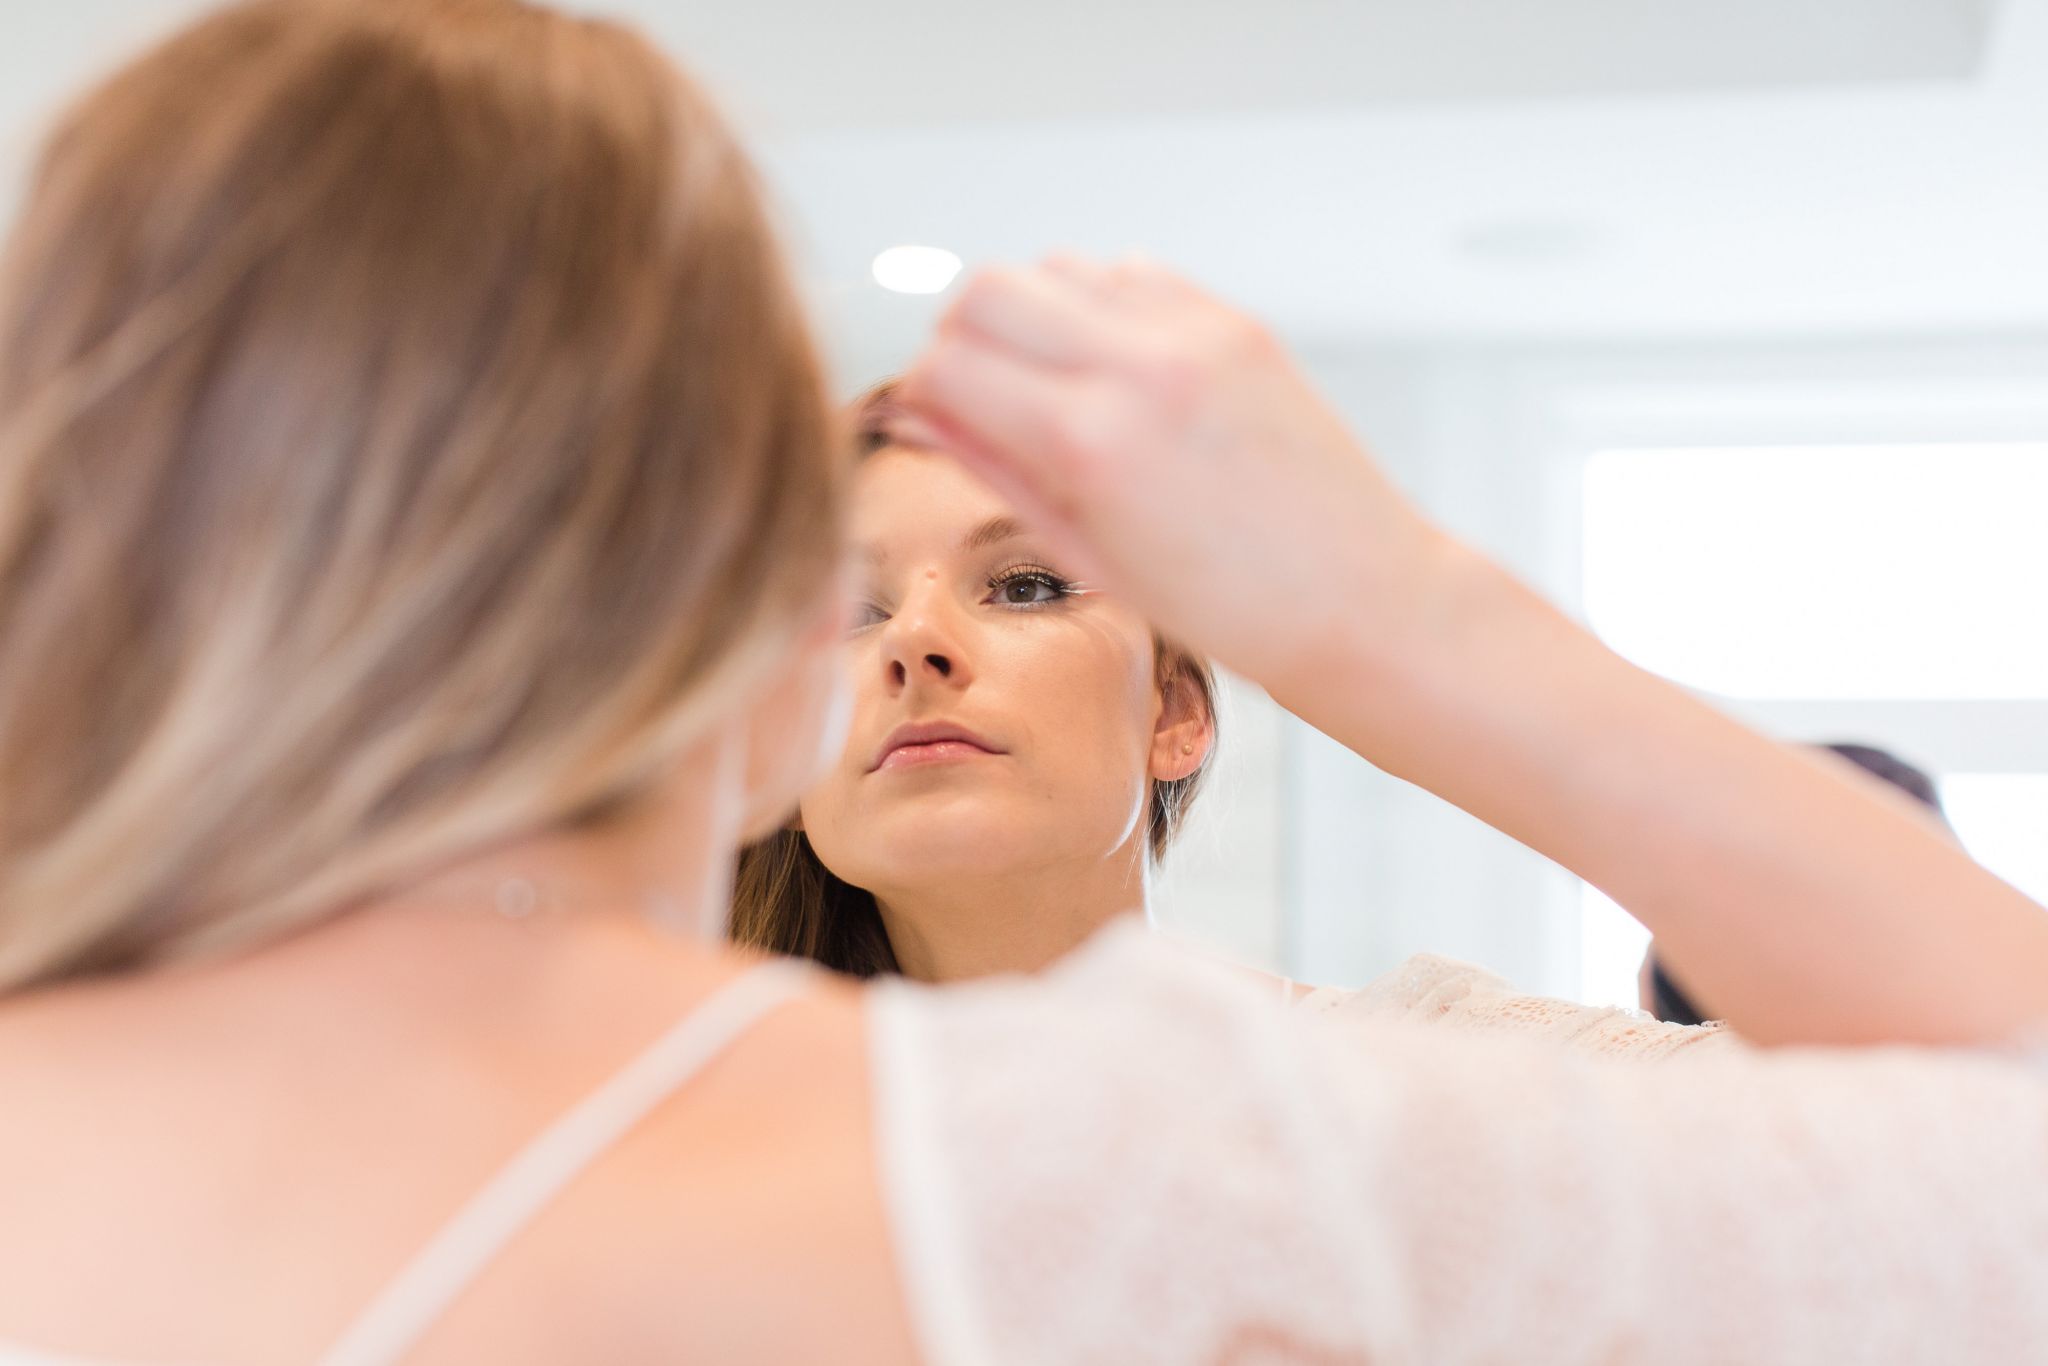
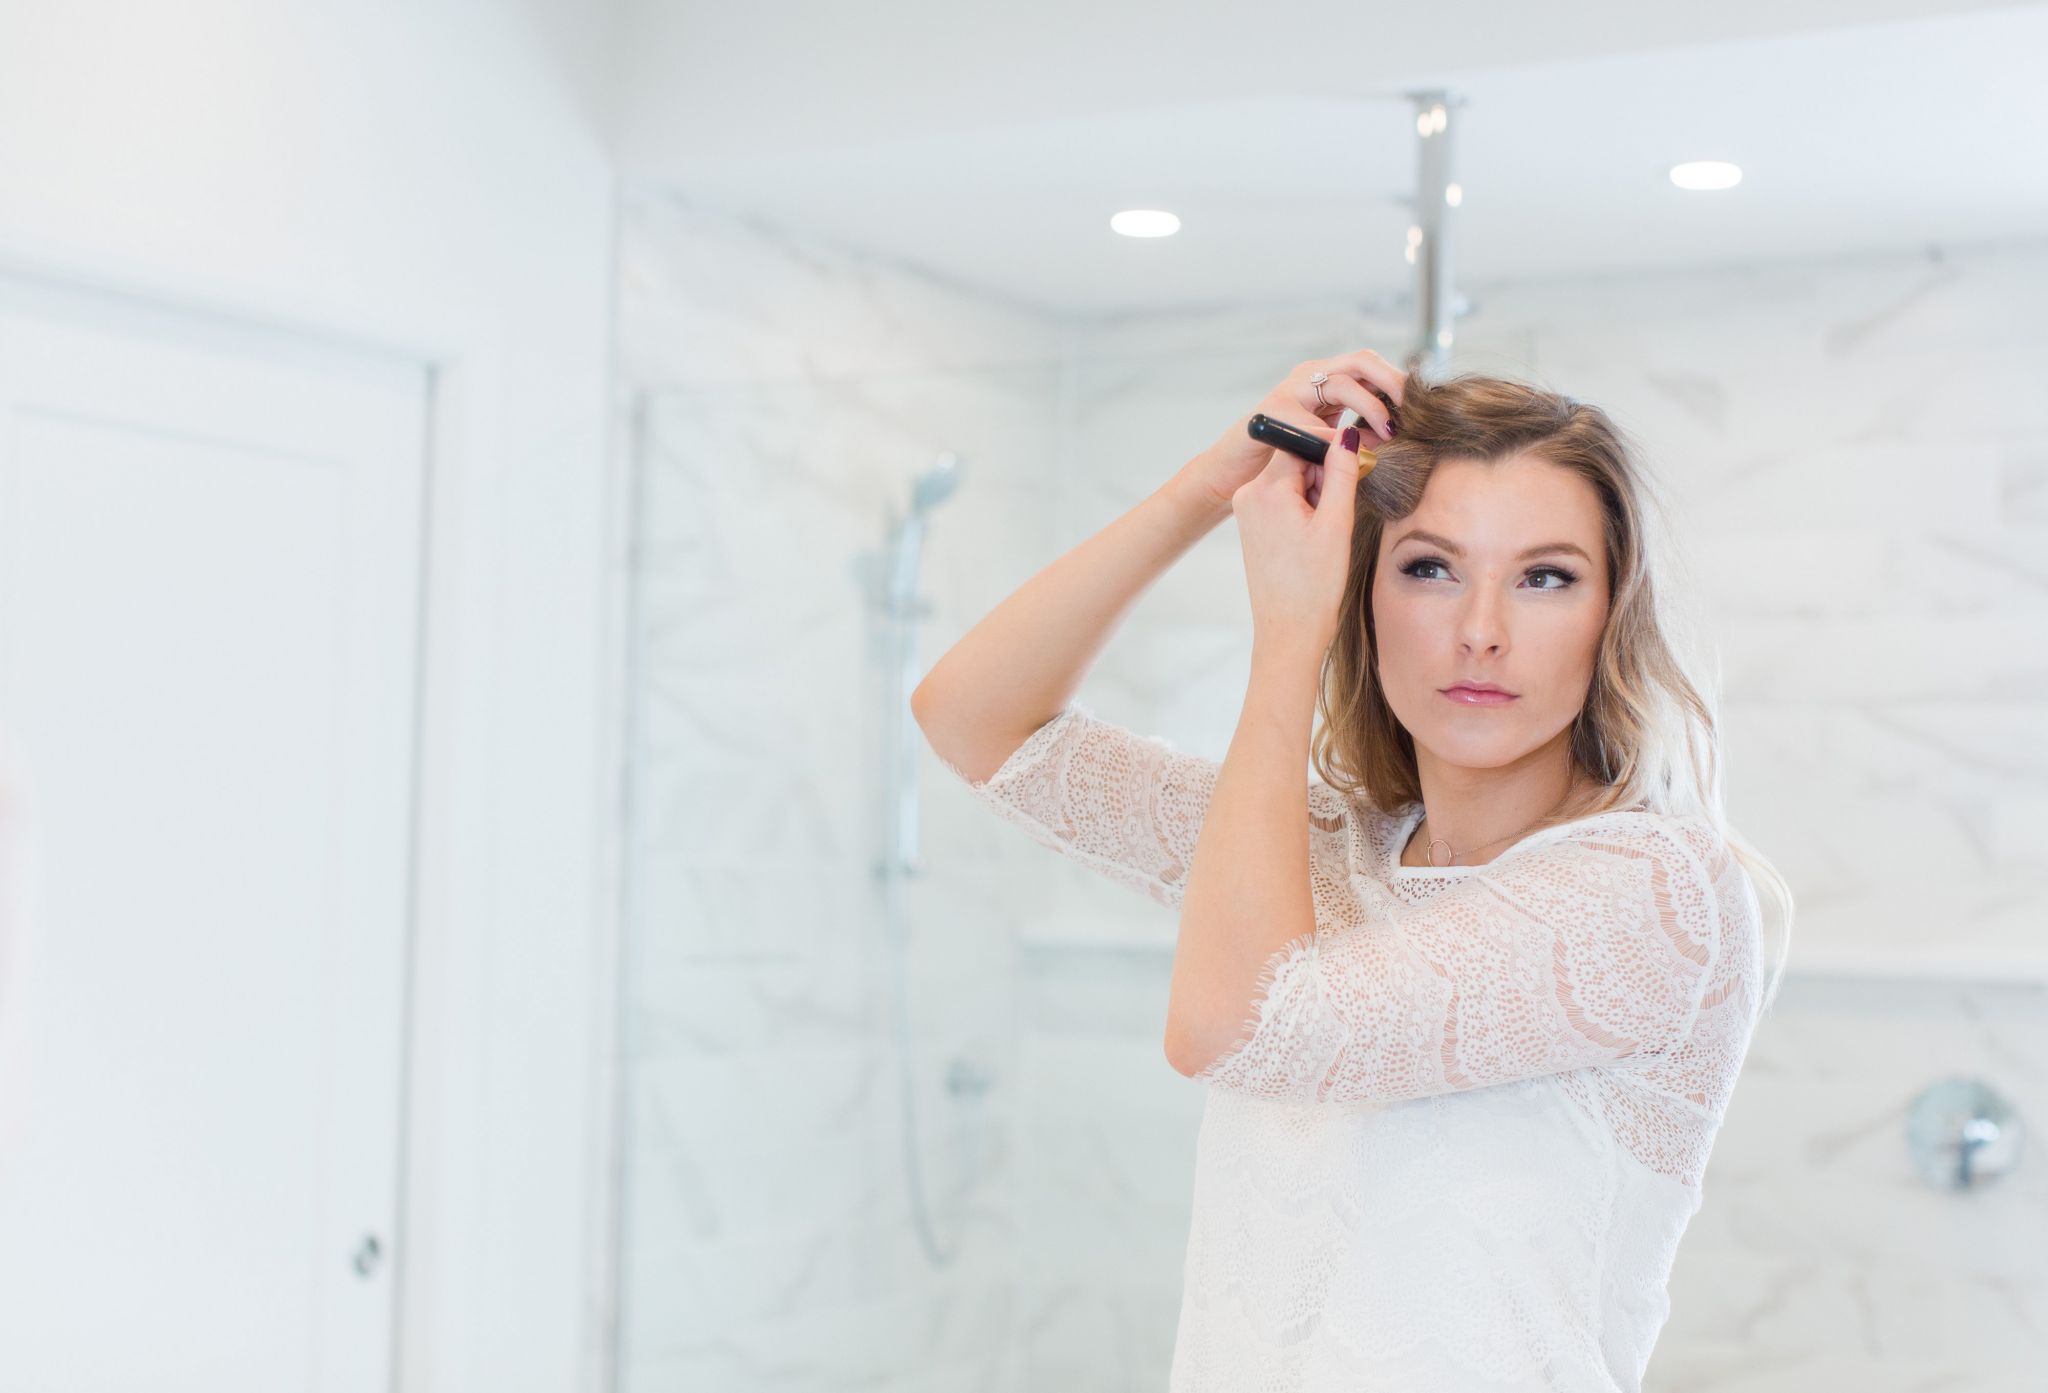
Highlighting is so pretty, especially for a night out or summertime.
Since it’s winter, and I have dry skin, I’ll often avoid highlighting my cheekbones as it can emphasize the dryness.
That said, I always go in and highlight the tip of my nose (make sure you blend it out), the inner corners of my eyes & under the arches of my brows. I like to use this soft jumbo pencil in cottage cheese.
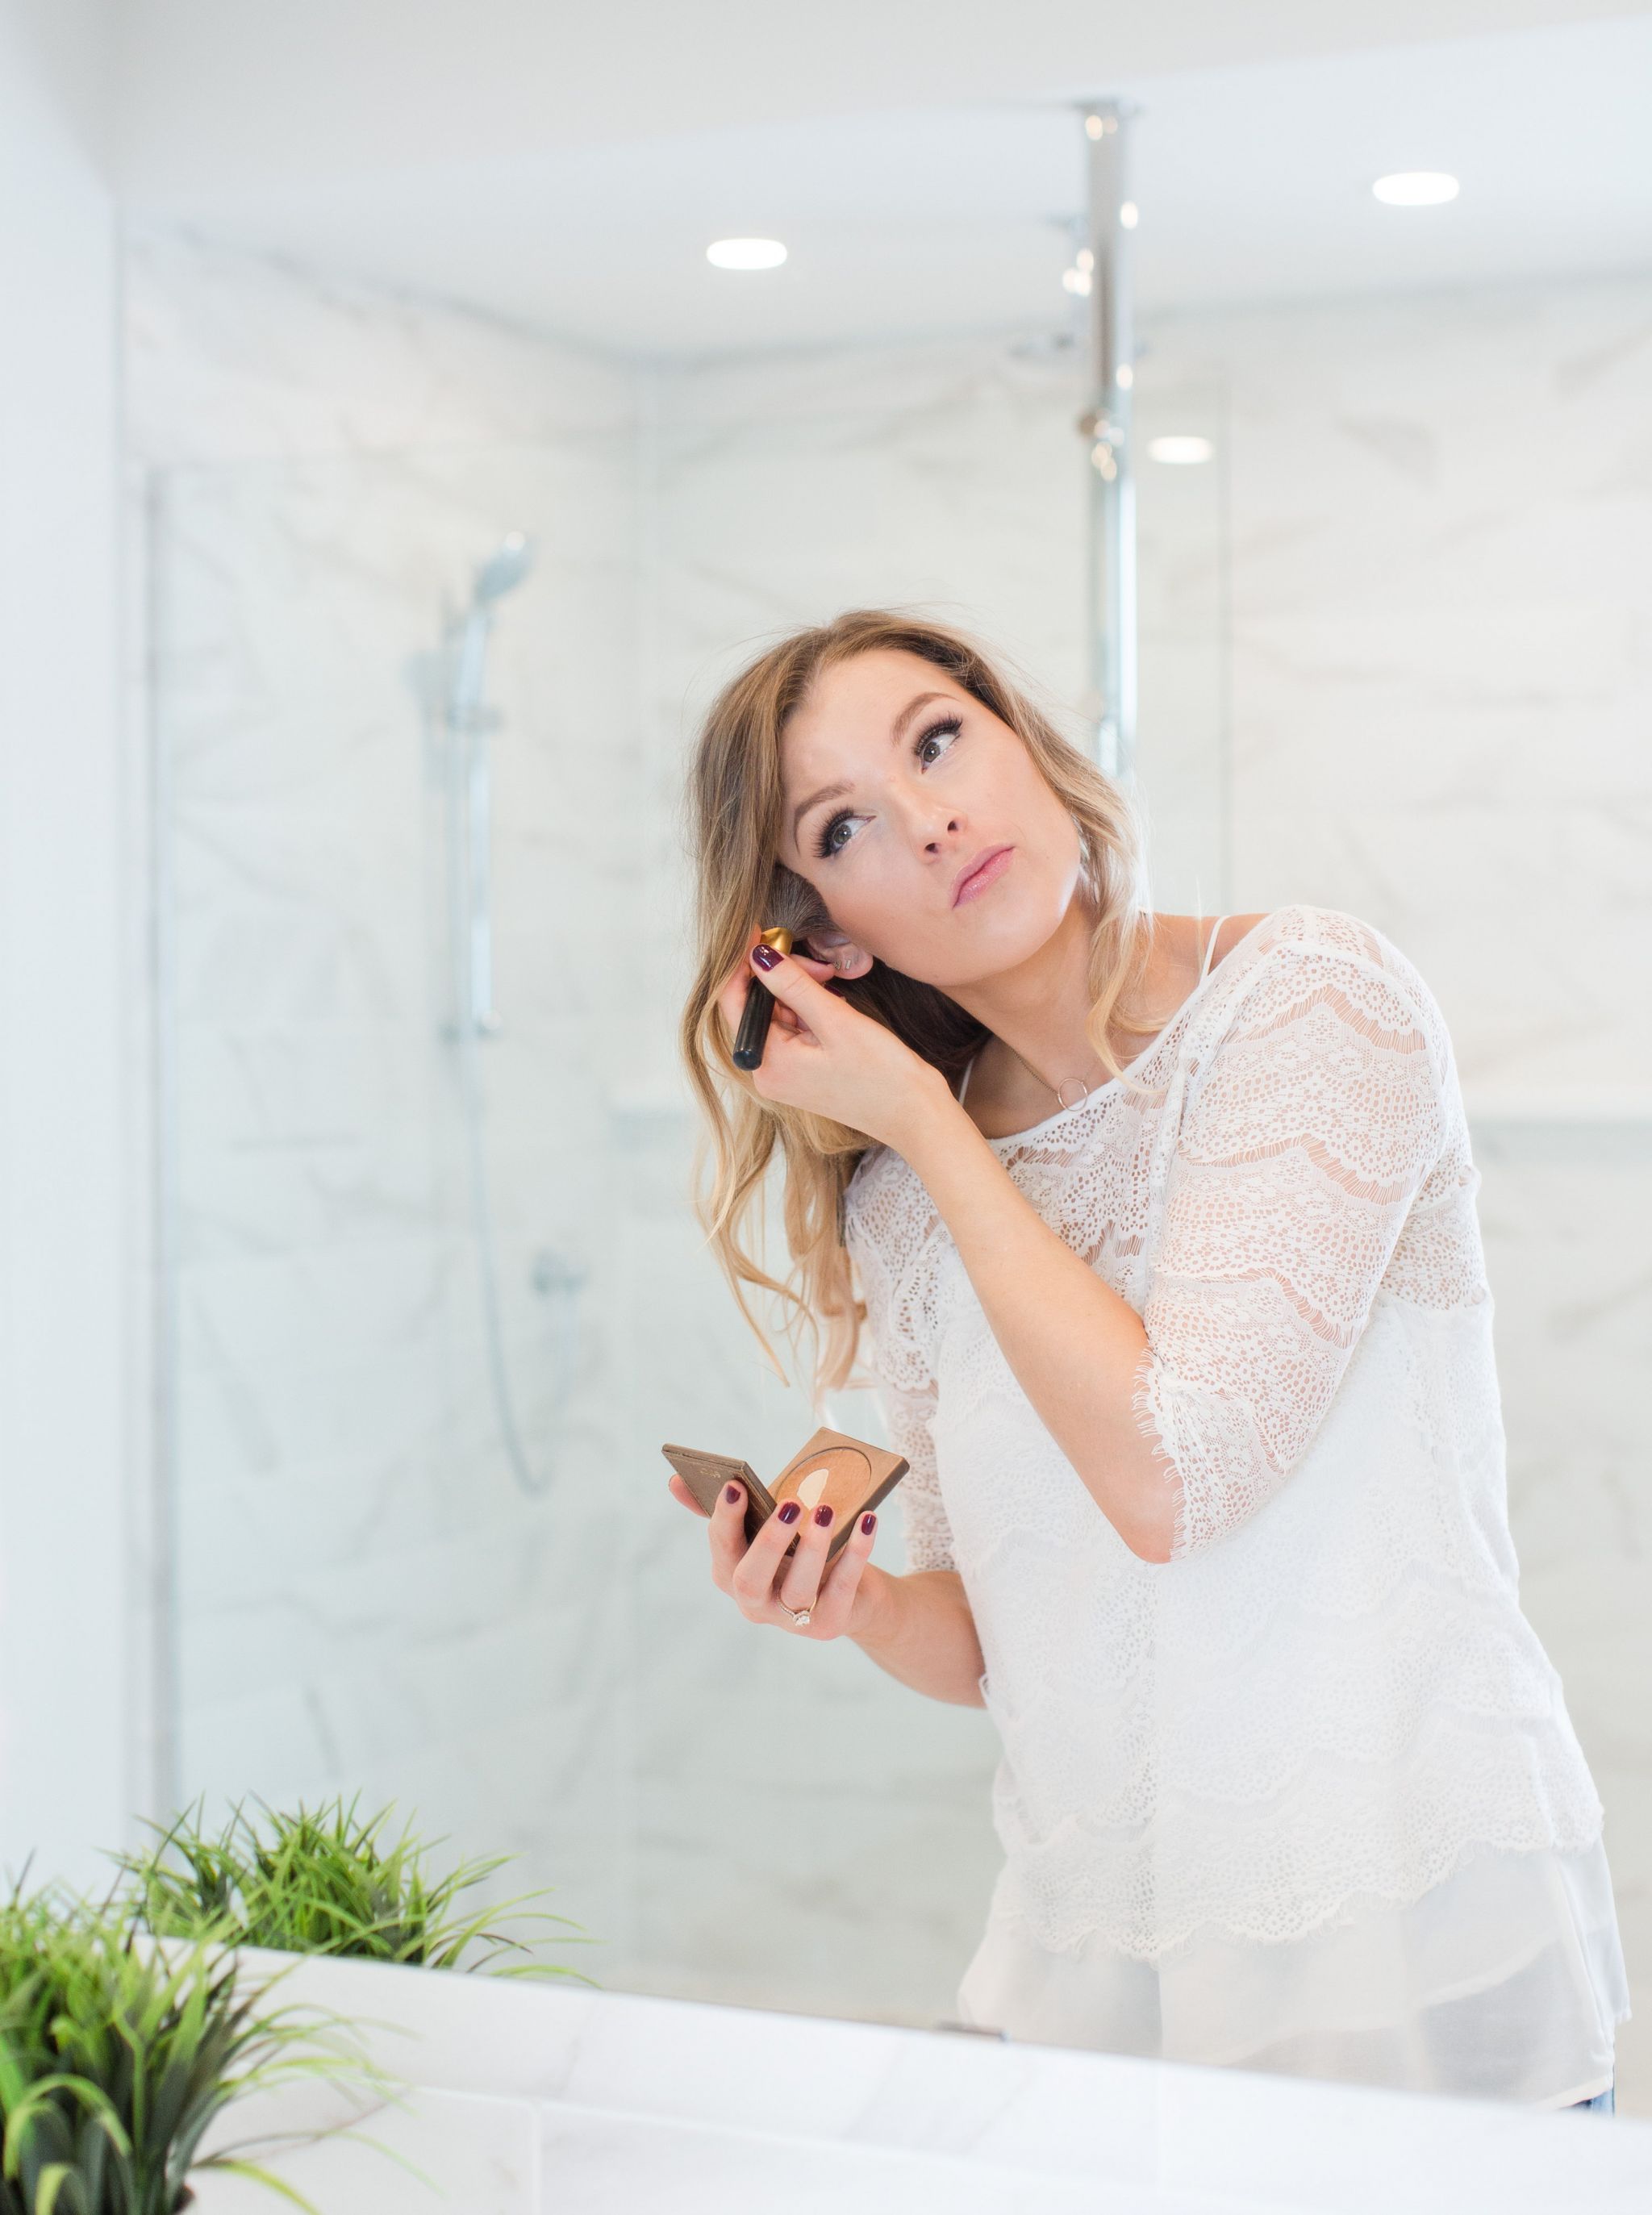

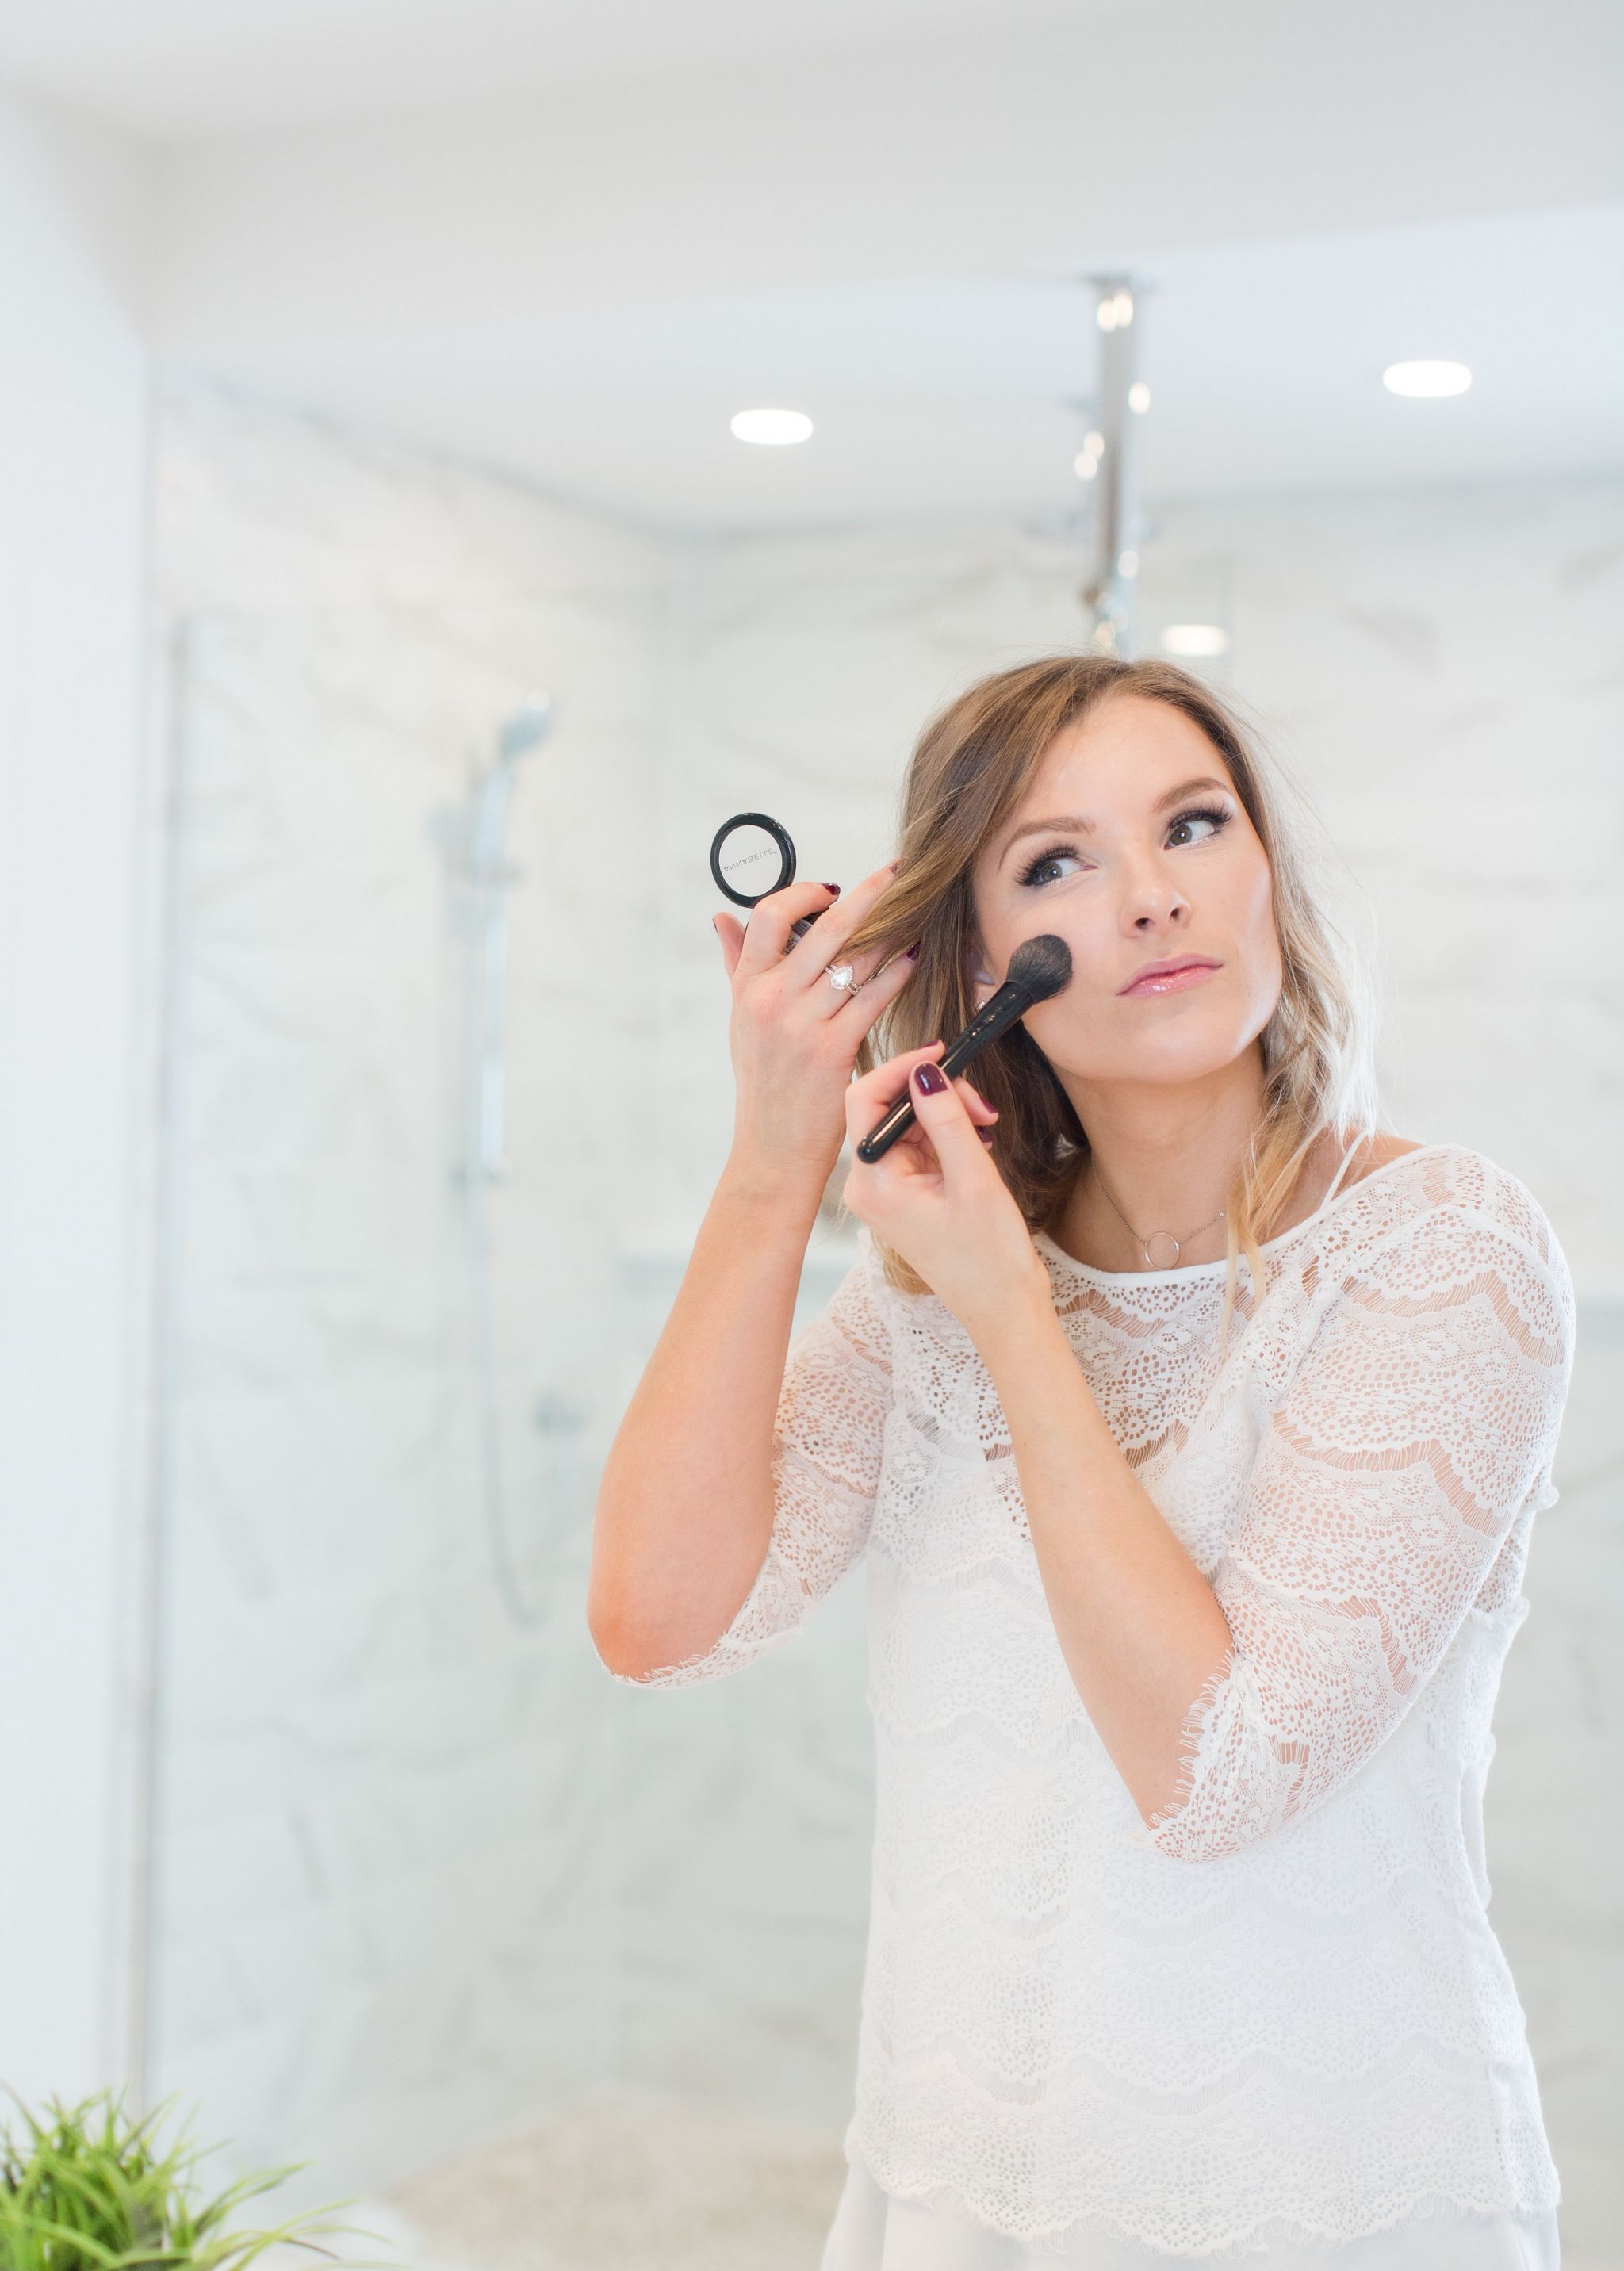
Next I go in with the bronzer & a light dusting of blush on top.
If you’re into contouring, do this before you apply your powder.
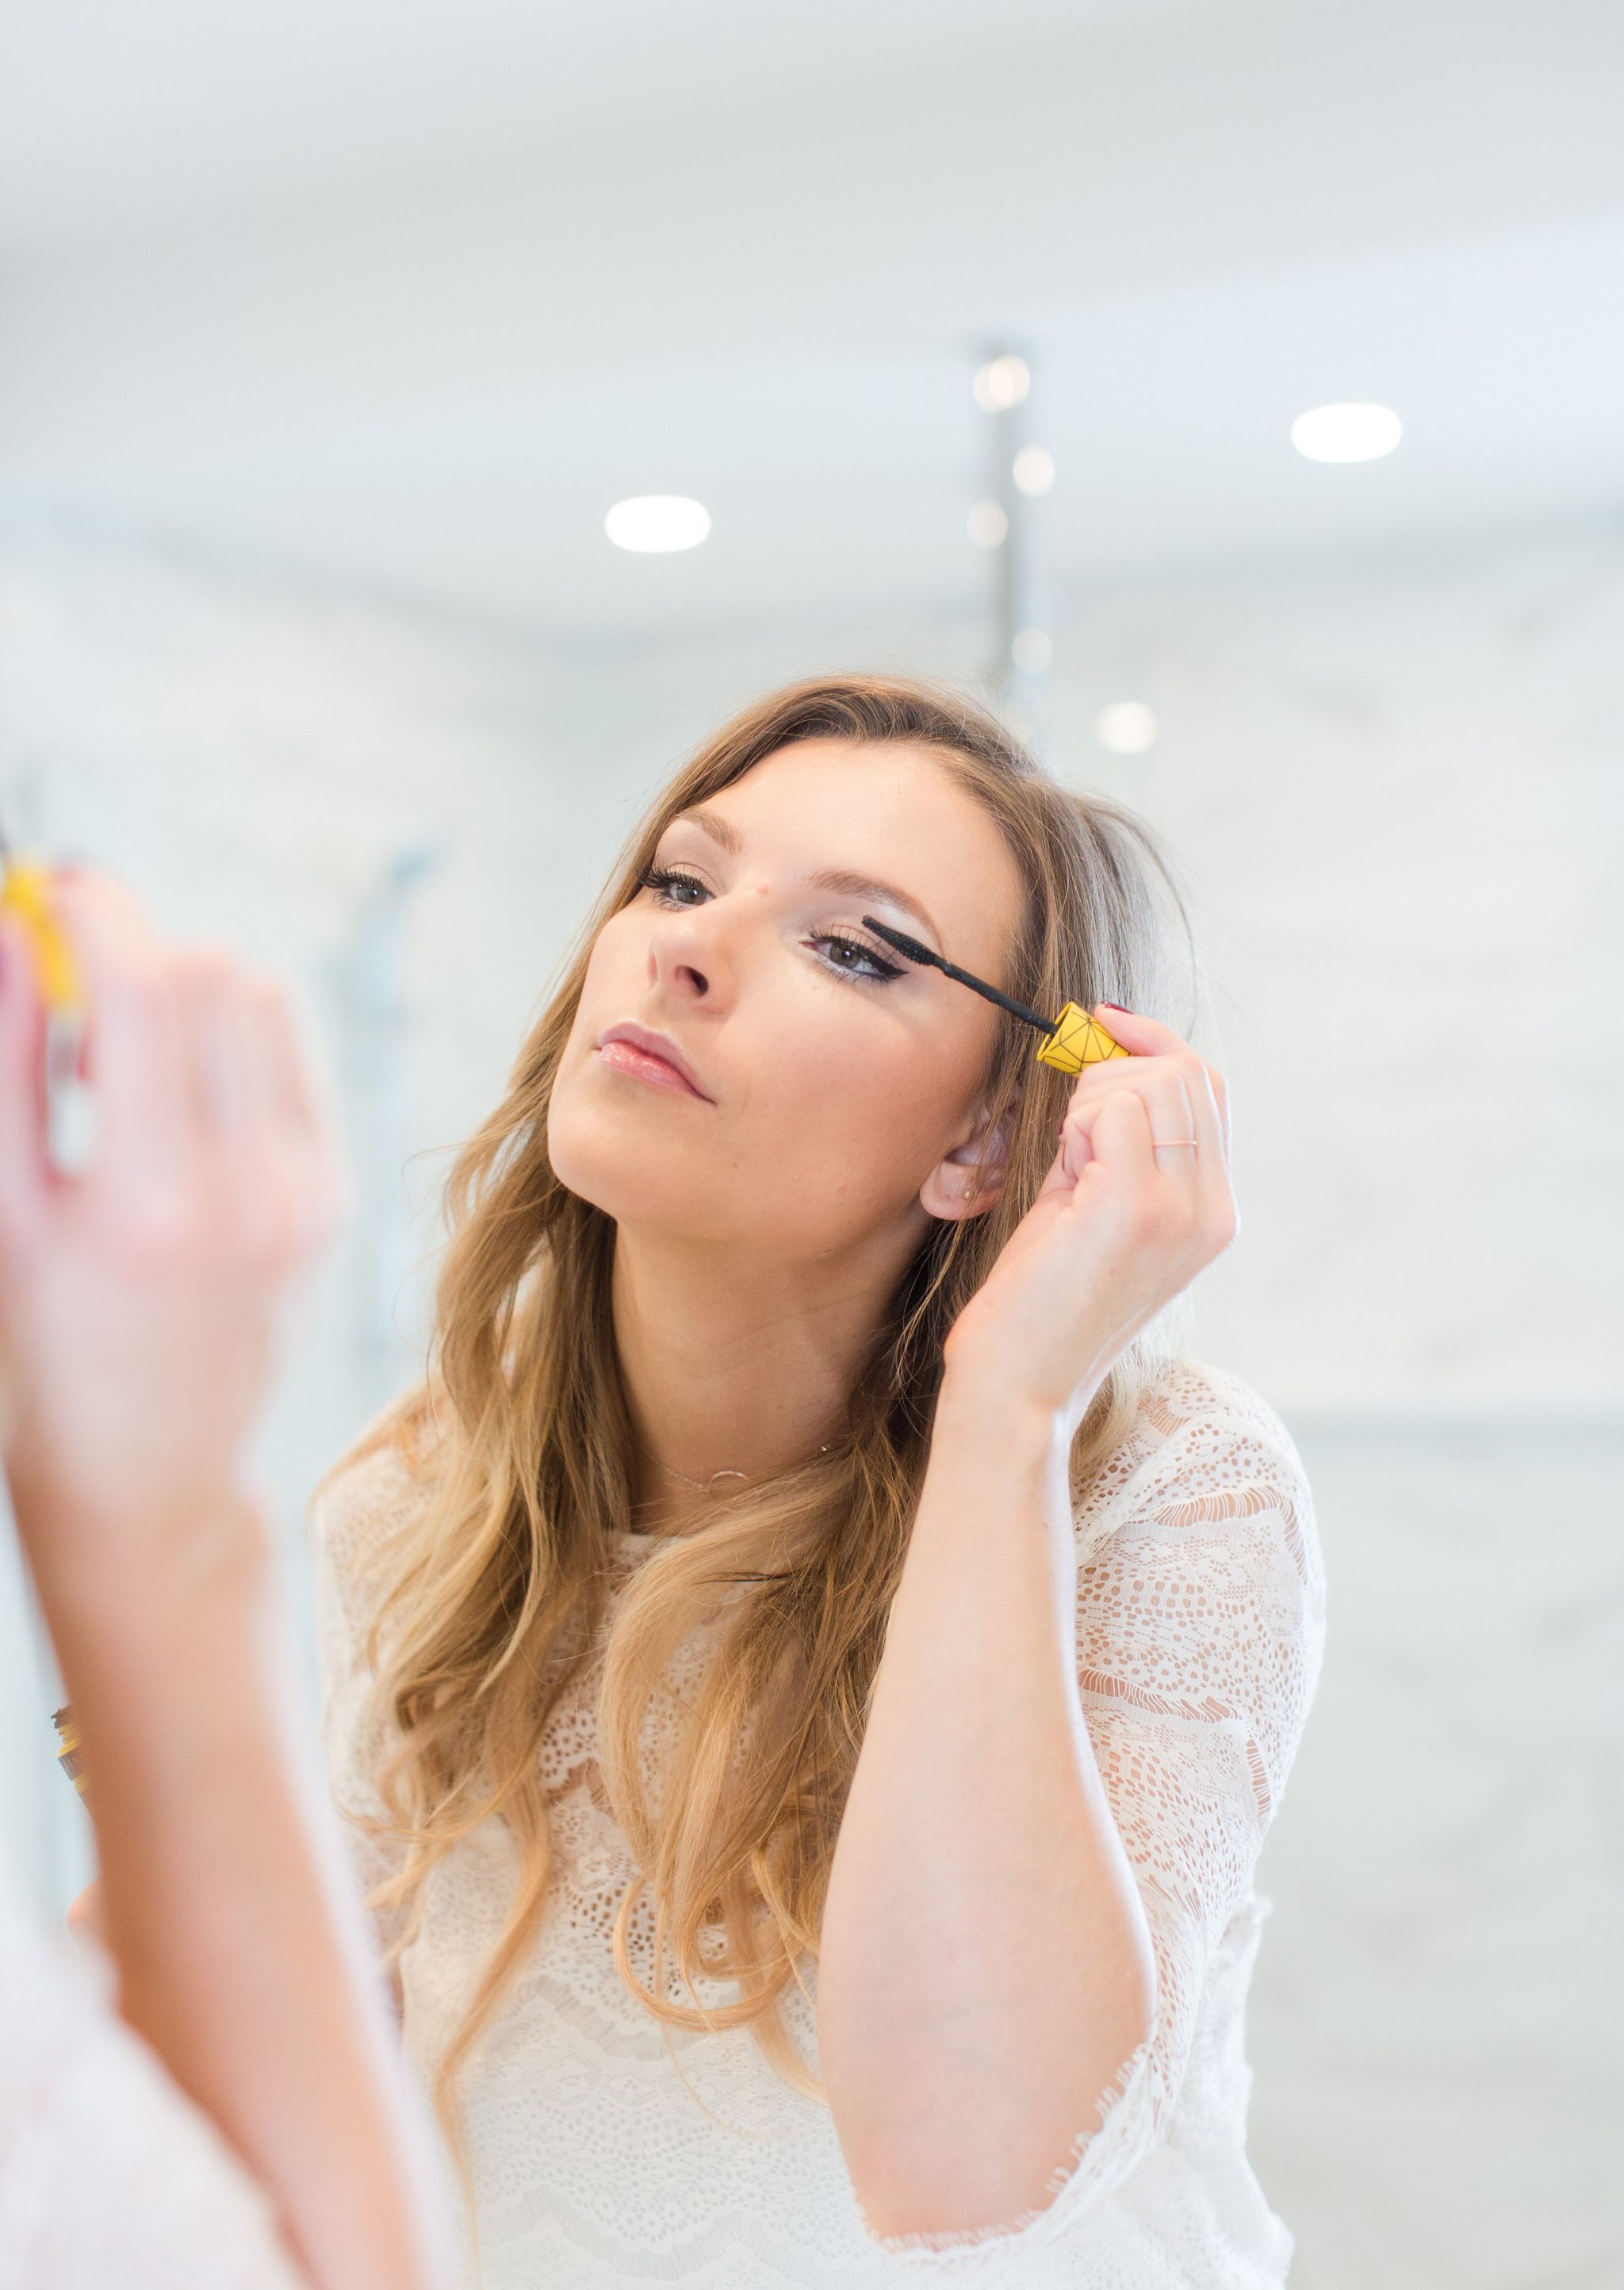
And finally, once your lashes have dried, go in with a few swipes of mascara to blend your lashes with the falsies together.
Don’t forget the bottom lashes too!

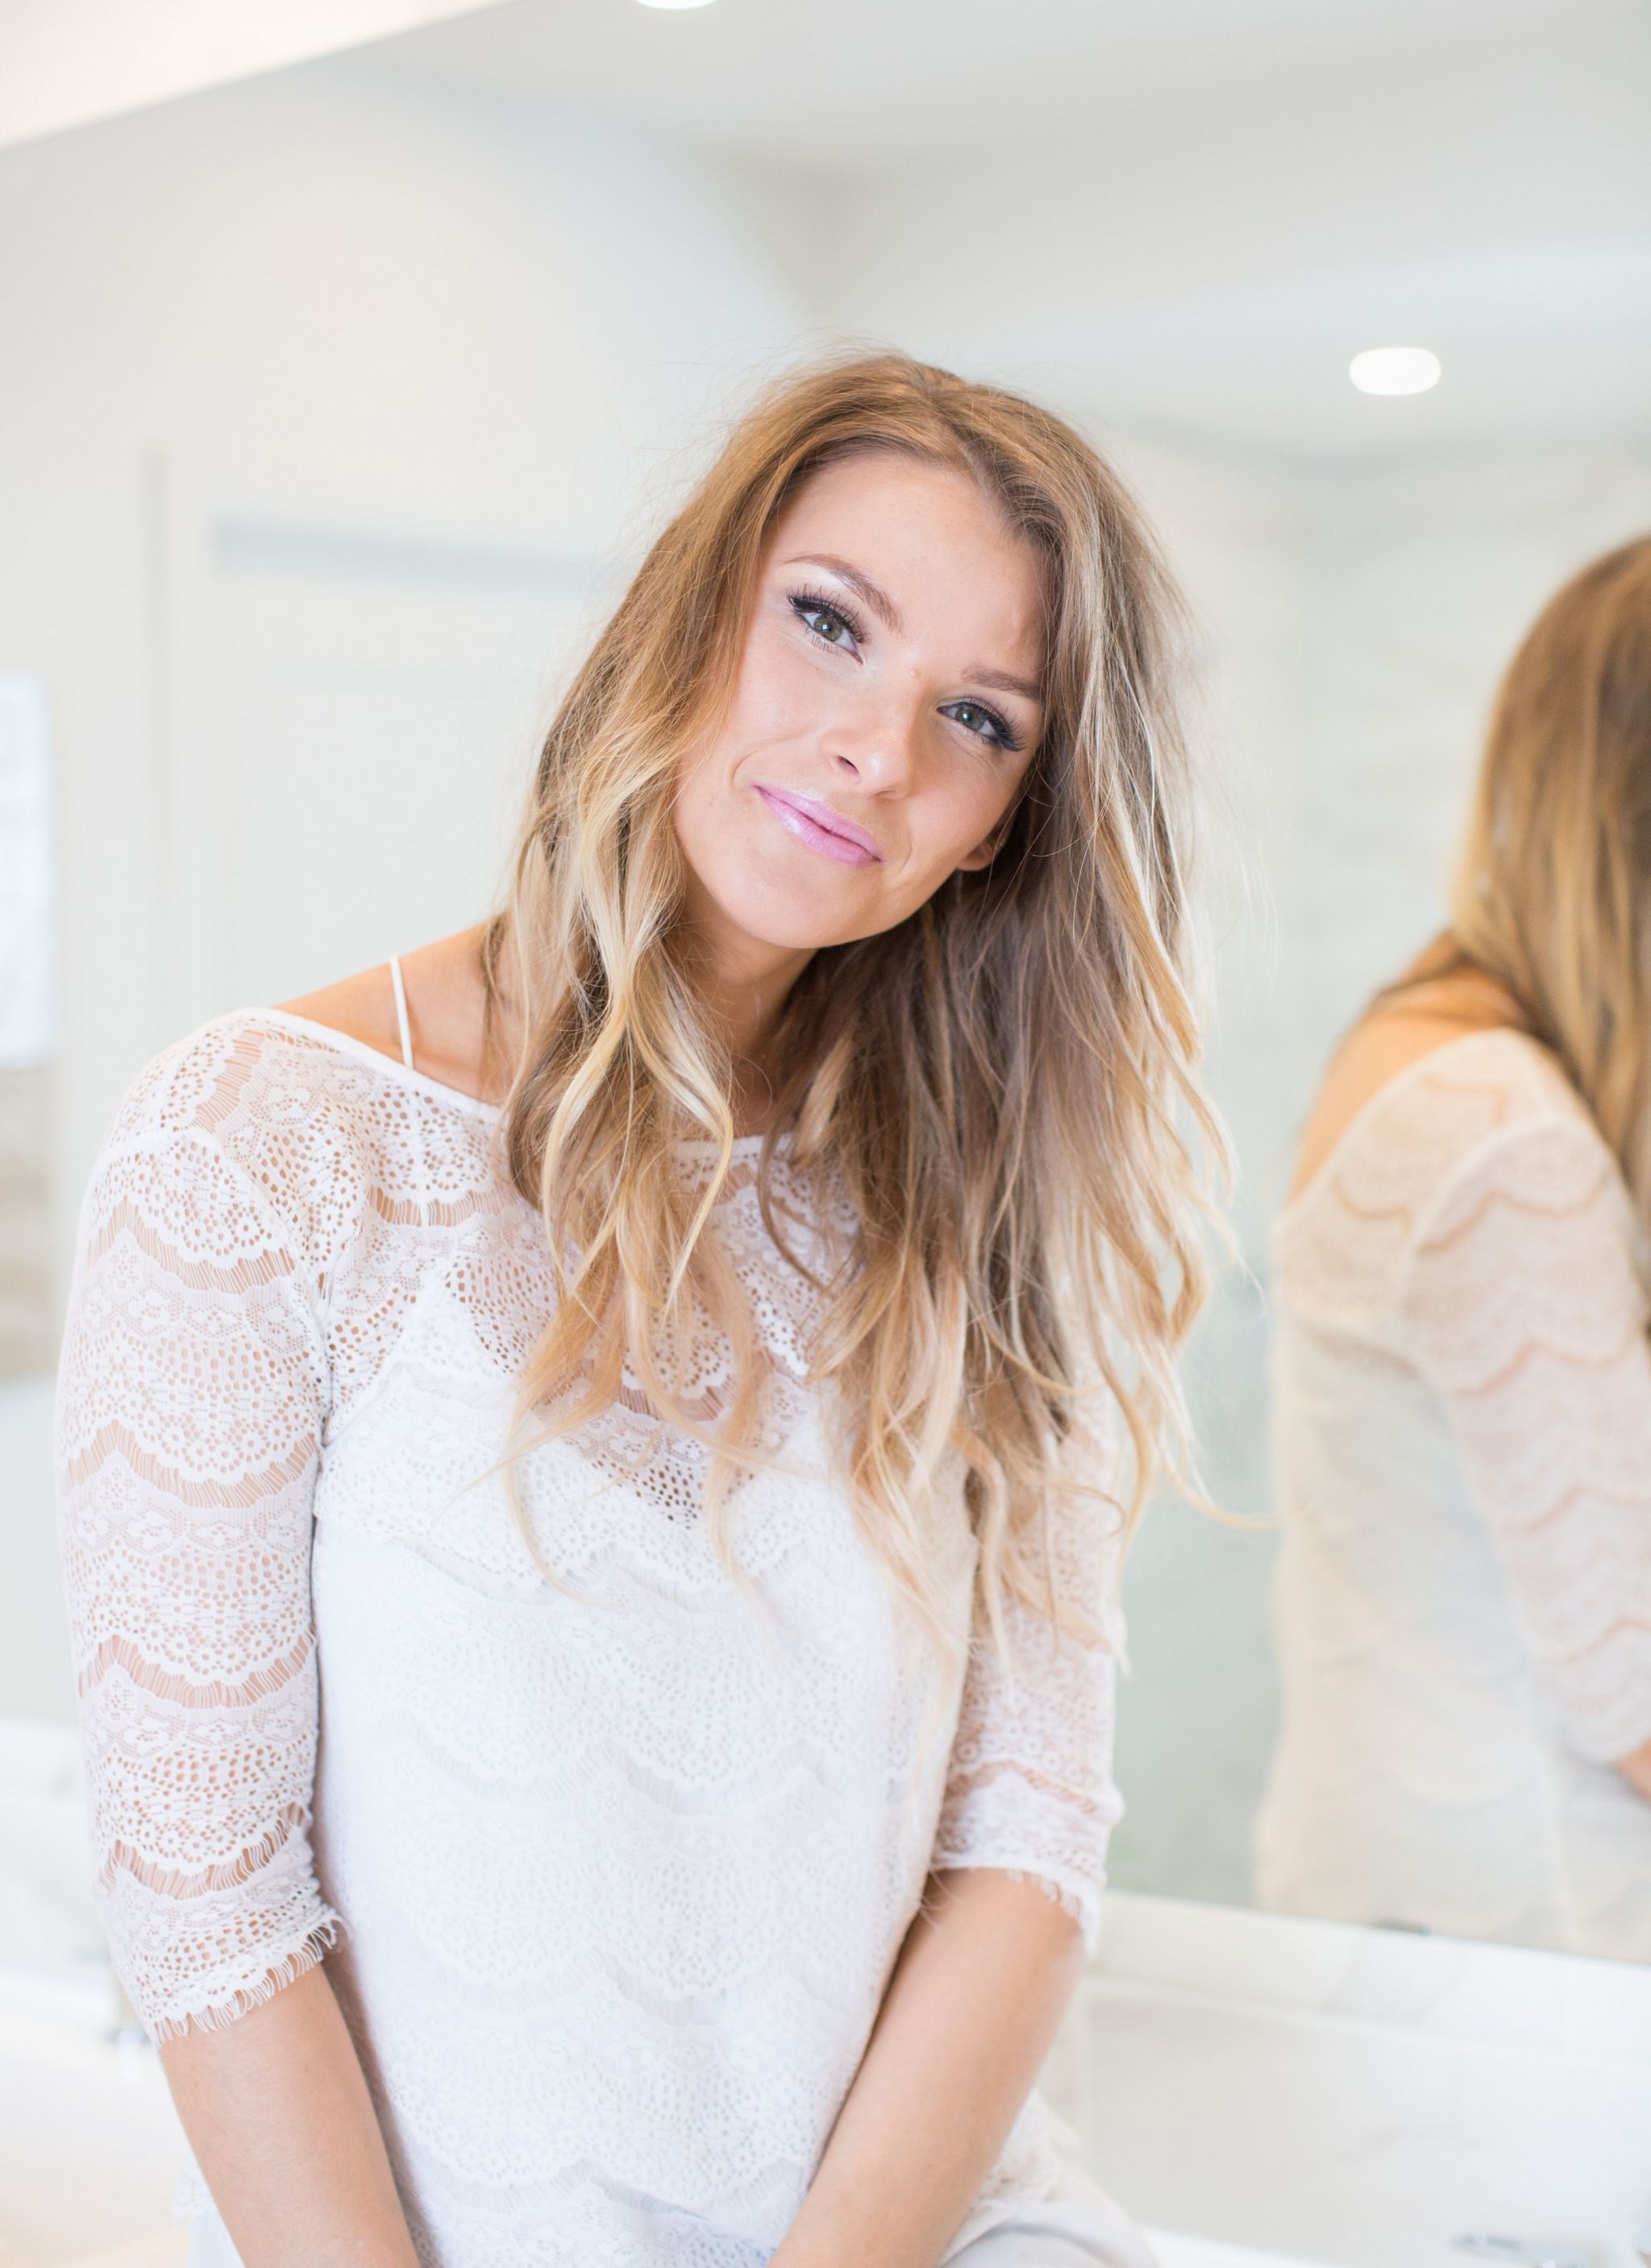

That’s it! My full night-out makeup routine.
This look takes me about 15 minutes to do, especially with the lashes & drying time.
Typically when I’m going out, I’ll do a stronger cat eye, wear fake lashes and lipstick. The lashes truly transform the look and I wish I could wear them everyday–I just don’t have the patience for them on the daily. Lipstick is definitely optional, but it really helps complete the look.
I’m going to walk you through the exact steps I take for this look below, I wanted to keep it all in one place, so it would be easy to read/see/refer to. Most of my make-up are drugstore products, so I’ll link as many as I can here and in the widget at the bottom of the post!
NIGHT OUT MAKEUP ROUTINE
(1) Apply foundation. I like to dot mine all over my face–I love this foundation for my dry skin.
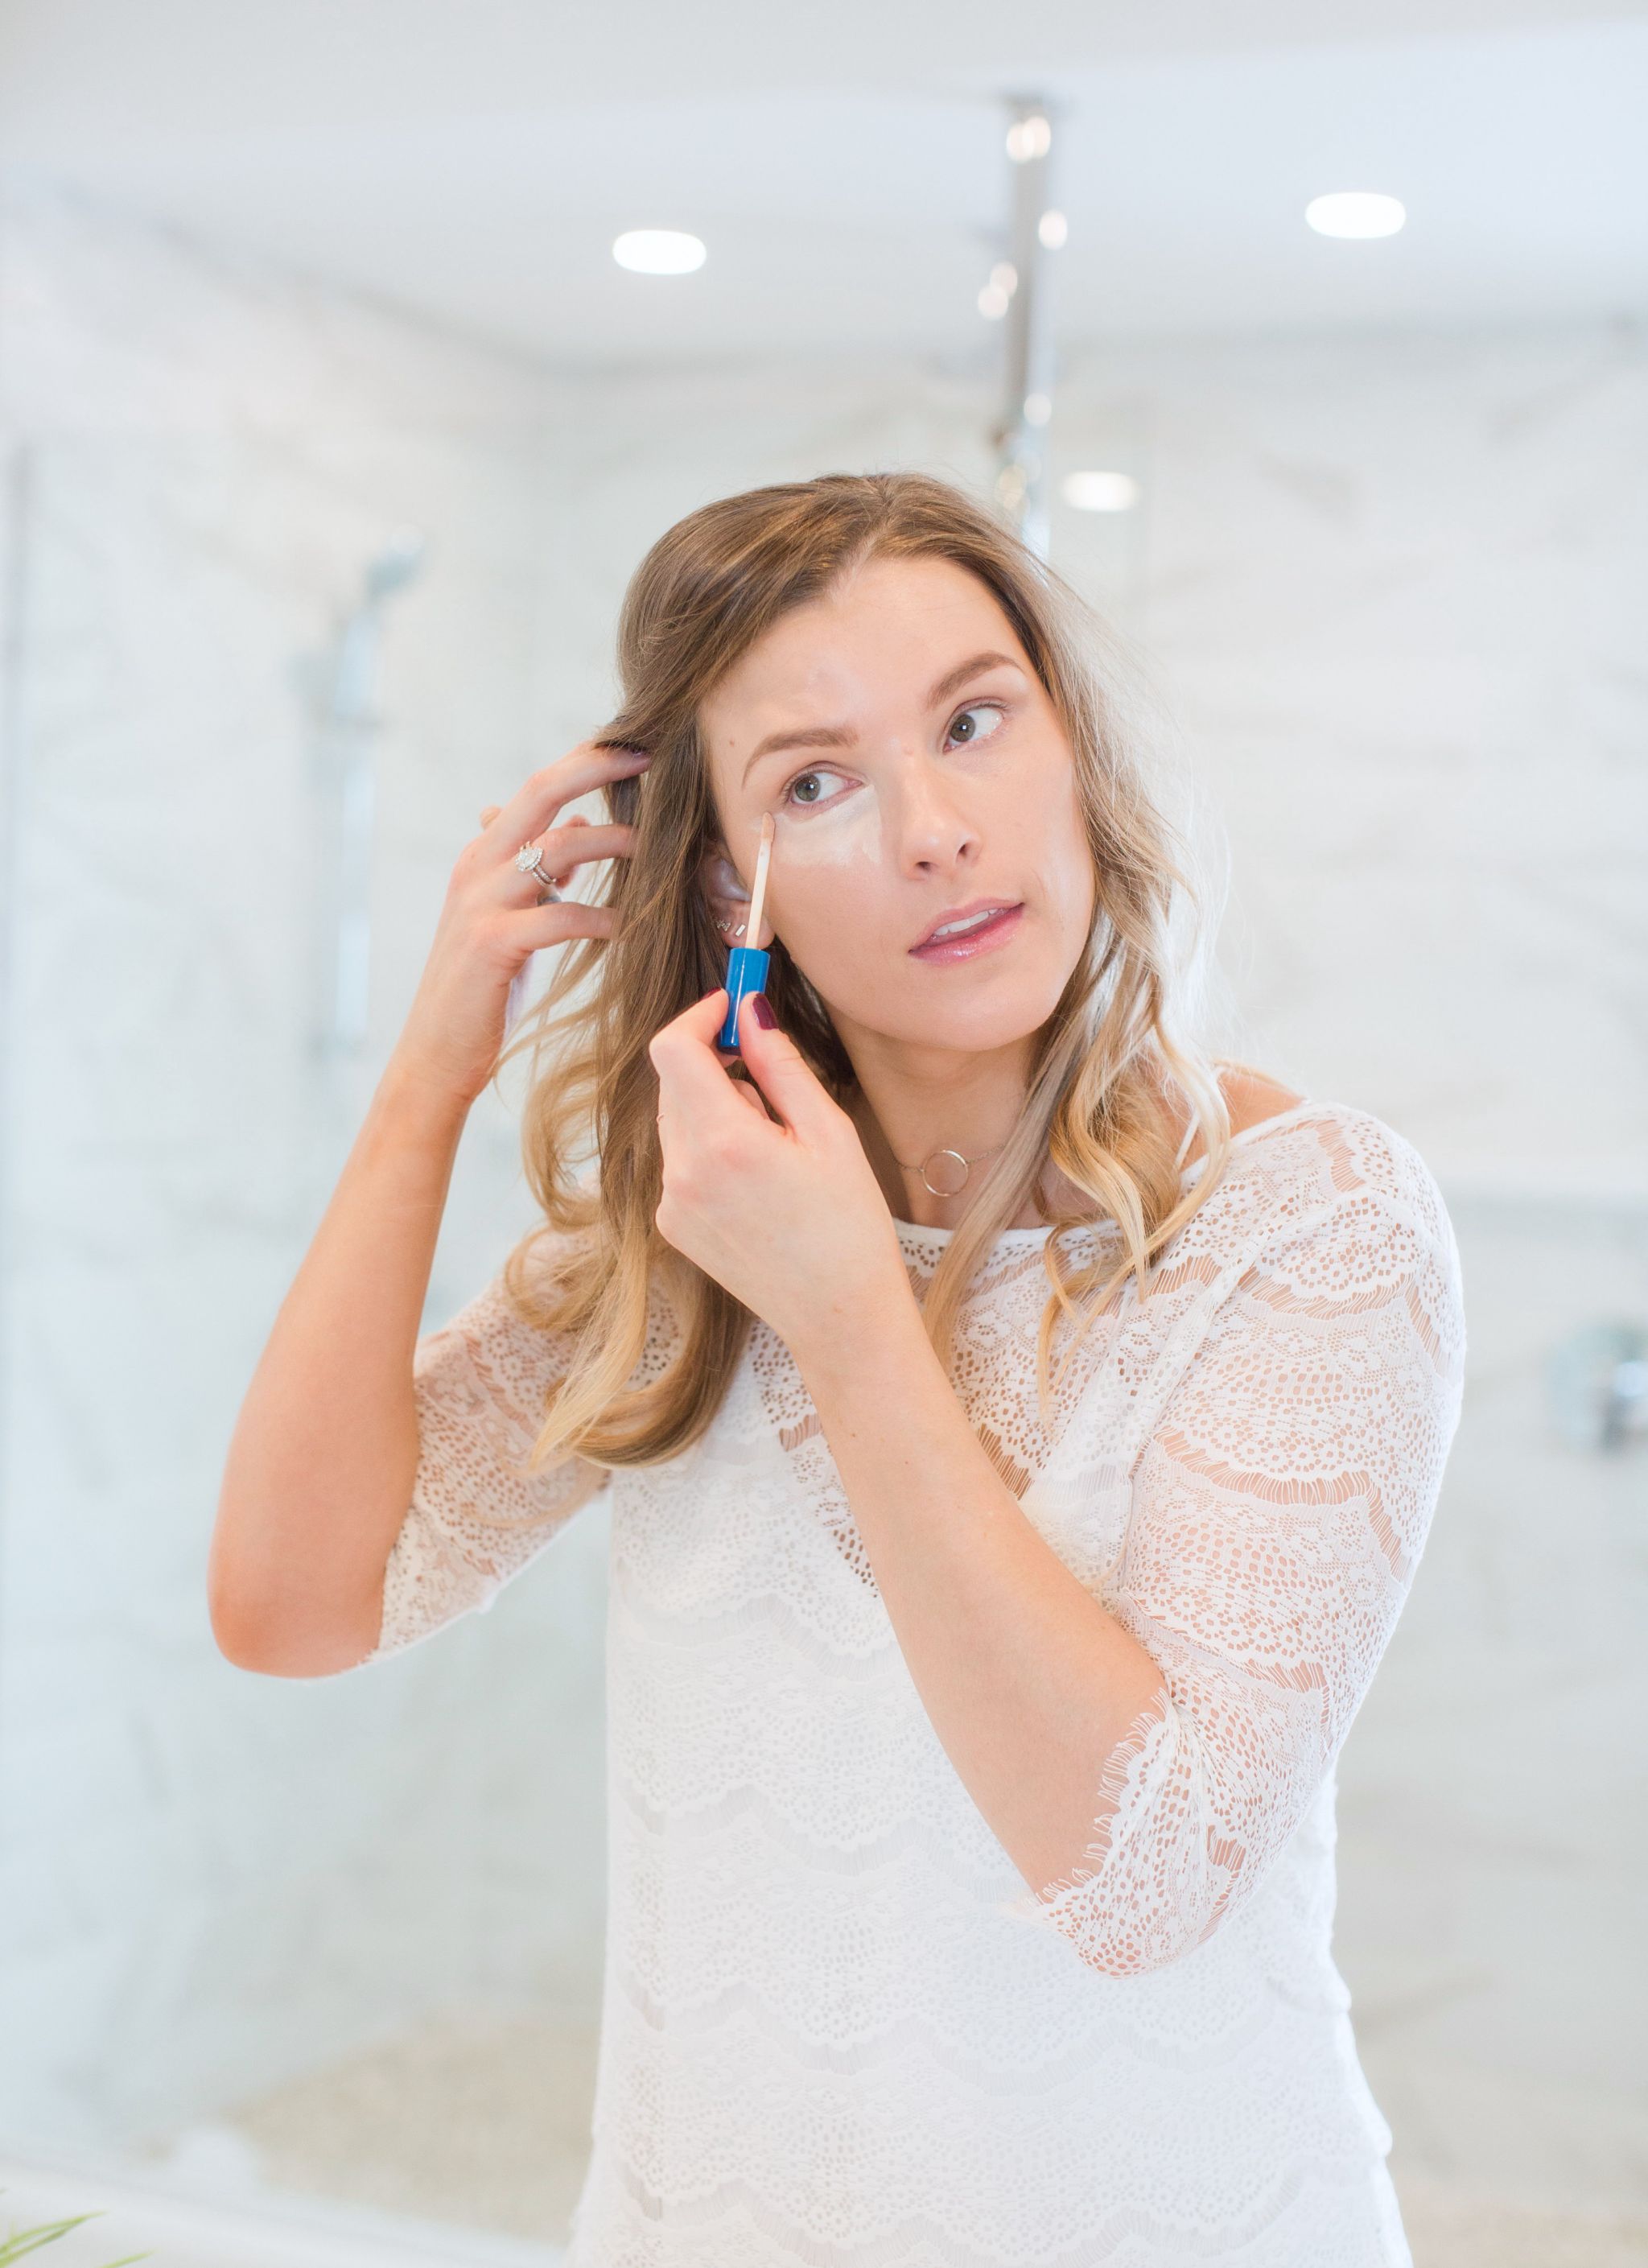
(2) Conceal under eye circles & any dark spots you may have. Blend with a Beauty Blender or brush.
(3) Fill in brows, I like to use a soft brow pencil with a brush on the end (mine is under $5 & I’ve been using it for two years).
(4) Apply eyeshadow–the lightest colour should go closes to your lash line and inner corner, darker shades in the crease & outer corner. I’m using this palette.
(5) Line 2/3 of the lower waterline (the line inside your eyes) with a soft, white pencil to counteract any redness (a nude pencil is great as well). Blend out with your finger.
(6) Line the outer third of your waterline with black to add dimension & blend with your finger or brush.
(7) Use a liquid liner to create a winged / cat eye.
(8) Apply a light coat of mascara to top lashes only (this will be helpful in case your eyes water with the false lashes & don’t have mascara on the bottom lashes).
(9) Apply glue to first lash, wait 30 seconds, apply with tweezers. Once lash is secured, wait 20 seconds & pinch base of lashes/your lashes to further secure. Apply other false lash.
(10) Highlight the tip of your nose, inner corners of the eyes & Cupid’s bow (above your lip).
(11) Apply bronzer to cheekbones, forehead, chin & neck (you want to ensure your face matches your neck 😉 )
(12) Apply blush to apples of cheeks. This is my favourite blush ever & works when I’m fair or when I have a tan.
(13) Use your favourite mascara (also love this one) to blend your falsies with your own lashes, and also apply a coat to the bottom lashes.
(14) Apply lipstick (mine is “Petal Pink”), et voila!
I hope you girls enjoyed this post, let me know if you’re into these kinds of posts. Do you like seeing beauty/makeup posts? Or should we keep it to fashion? Totally open to your opinions.
As always, thanks for stopping by & see you tomorrow!
Photography by Lisa Provençal.
SHOP THE POST